Mistake is the best teacher. It’s not important how you make mistake but how to correct your woodworking mistake makes you a smart woodworker. Woodworking mistakes are so difficult to avoid in almost every project and should be rectified or disguised well.
We have collected the common beginner’s woodworking mistakes and how to fix these woodworking mistakes by applying basic woodworking ideas.
10 Common Woodworking Mistakes & Their Solutions:
- Improper Selection Of Tools: Huge variety of woodworking tools are flooding the stores and market nowadays. Woodworking tools like handsaw, bandsaw, planner and jointer, tablesaw, wood scapers or sander, wood router and bits, spindles, jigs have their own purpose and are good companions in your journey as a woodworker. Woodworking tools are usually quite expensive, so before making the actual purchase, you should analyse which tools are best suited for fulfilling the demands of the type of job you want to perform. If you are unclear better work under a mentor for some time or surf all the pros and cons of the tool you want to buy from some authentic online sources.

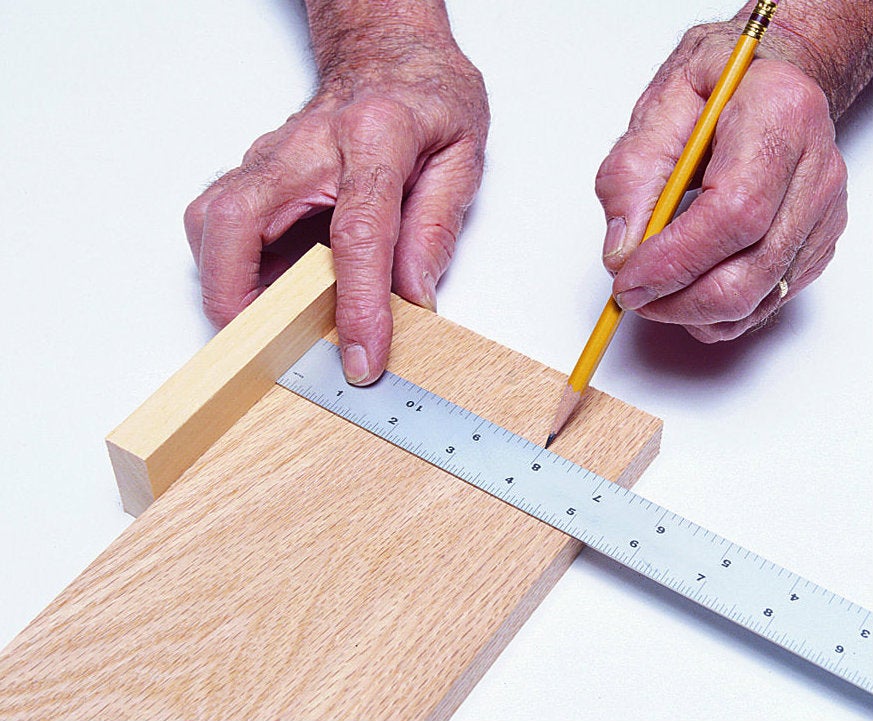
2.Incorrect Measurement: Taking the precise measurement is very crucial in woodworking and your measuring tape and carpenter’s pencil plays important role here. The measuring tape should be tightly held while taking outer and inner measurements and the hooks of your tape should always be clean to avoid measurement inaccuracies. A tape measure is not designed for measuring very small measurements accurately. So, if you want to measure within an inch, go for the steel ruler instead. If you do use a carpenter’s pencil, make sure you sharpen it correctly. If you are using knife or some sharp tool, don’t mark a deep grove so that it can be sanded or planed out easily.
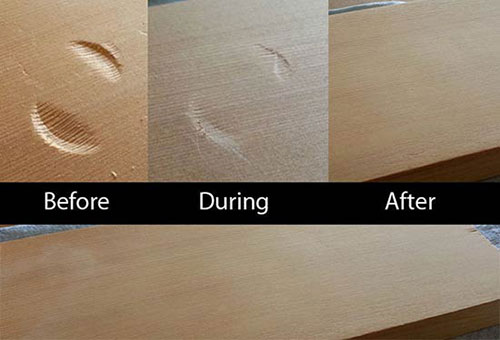
3.Dents In The Workpiece: Dents or scratches can appear even out of smallest mistakes like dropping of some sharp, heavy tool on your newly finished projects and may ruin its perfection. Getting rid of a dent is quite simple. Just wipe it up with a damp cloth and iron it. The steaming effect will expand the wood fill up the dent nicely. You can also fill up the dent with Timbermate wood filler that comes in many colors or sawdust from the same type of leftover wood combined with wood glue and then sand it for perfect finish.
4.Corner Chip In Your Workpiece: You can fix a corner chip by applying some CA glue and activator on it while exerting some pressure with your finger. When it dries up, just twist your finger and release the pressure. If the chip is already broken, set it up properly with the workpiece using a tape so that it is not misplaced. Remove the tape and just fix it up with CA glue and activator. The chip will be holding the work piece nicely again. Remove the extra glue with any hand planer or sand paper.
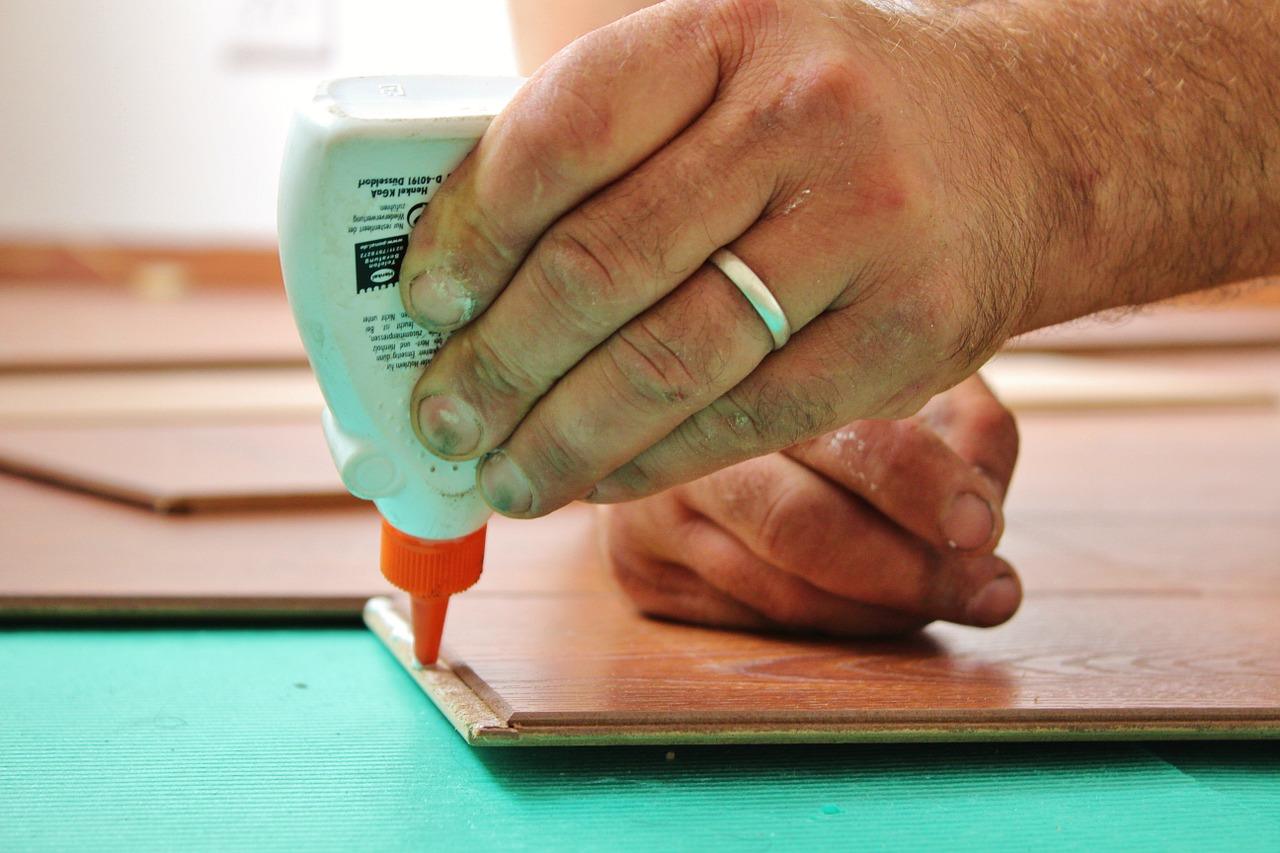
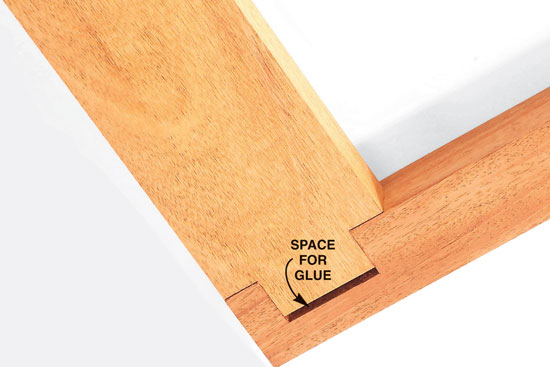
5. Uneven Joints (Loose/Tight): Cutting mortise and tenon joint is an inseparable part of a woodworker’s everyday life. These joints require the exact cuts for fitting properly and it’s the most common mistake to cut unevenly as a beginner. You can fix uneven wood joint quite easily. The trick to deal with joints that are tight is to try for dry fit first. If they are really very tight then you can use a mallet for making it bit compact. Dry fit test allows sufficient space for glue to seep in the joints. If the joint is loose, you can add up some extra glue for filling it up. If your joint is too loose, select a similar sized chip having same grain as the joint and glue it up. If the chip is bigger or uneven, sand it nicely. Now you can fix the joints properly.
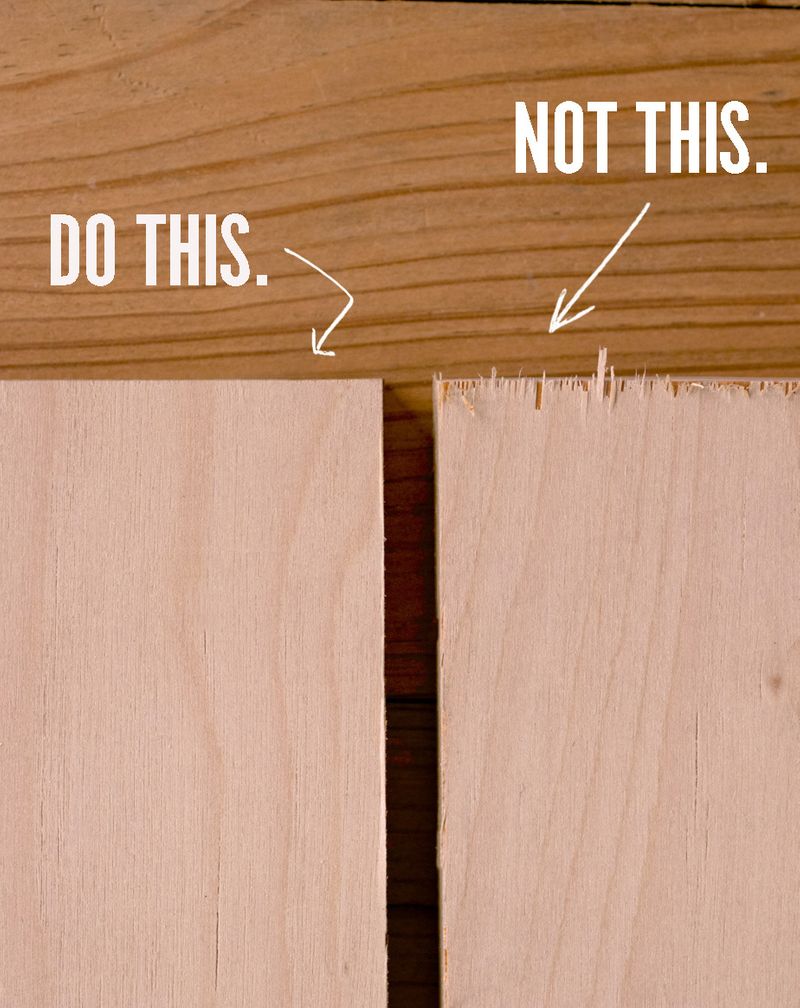
6.Uneven Cuts: Uneven cuts in wood are usually the result of a dull or blunt blade. You should replace your saw blade if it cuts unevenly every time. If you are getting splintering at the end of the cut, you may be turning your hand unconsciously as you push the work piece towards the finish. It’s a good woodworking idea for beginners not to cut your wood piece exactly, just cut it roughly 1/16th of the measurement. Then you can sand it down to exact measurement with the help of sand paper, rasp or a hand plane and fix the uneven wood cuts.
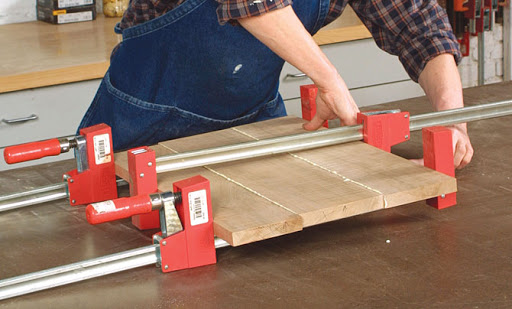
7. Uneven Table Tops: You may end up making a table that is not completely flat even after so much of hard work. One option is to plane it till it becomes completely flat, if you can compromise on table top’s thickness. Otherwise, you can cut the pieces apart at the joints and try to clamp down them again without actually applying glue. Make sure the table top is flat this time using a straight edge. Now, glue it up and clamp again. Pressure should be just enough for joints to fix and remember not to over-tighten the clamps.
8. Over Sanded Wood: If the wood gets over-sanded in one specific area, it becomes uneven and distorted in appearance. To fix this mistake, spot the over-sanded area and run pencil all over the over it, and then sand off the marks with 100 grit sandpaper. Always try to sand along the grain of the workpiece. Hence, it’s better idea to sand first and then assemble your project.
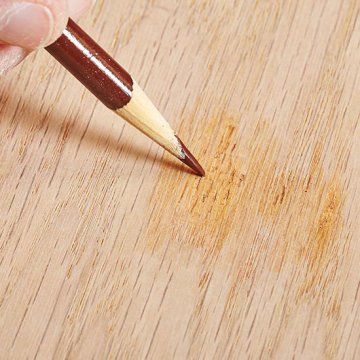
9. Way to Fix Over Sanded Veneer Wood: Veneer is very thin sheet of wood so it can be easily over-sanded even if you are careful. It’s easy to camouflage this rather than repairing the actual damage. You can draw the grain again with the artist pencil colours or conceal it with artist oils, graining pens or furniture markers. You can also patch some veneer and sand through that area or else you can also paint over your project.
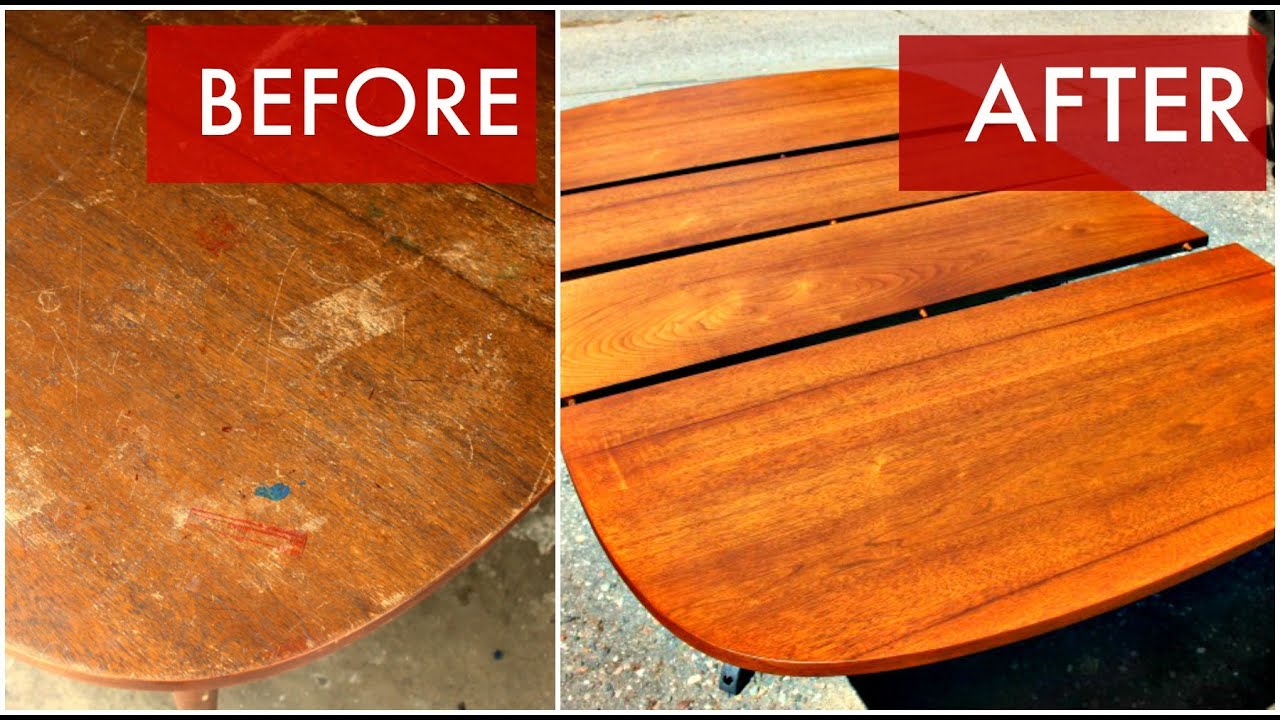
10. Mystery Glue Smears: Some unattractive glue marks become visible only when you’re varnishing or staining the finished project. You can easily get rid of these ugly marks with the help of a sharp cabinet scraper even when the wood is wet and then recoat it. Use a finish that sits on top of the wood rather than absorbing into it like varnish or shellac.

So, don’t be afraid to make mistakes, just try to avoid it or cover it up using these wonderful woodworking tips.
No comments:
Post a Comment