Tuesday, 22 December 2020

Building With Wood Vs Building With Steel


Is a steel build house always better than a house build with wood? Before making the final choice, it is wise to consider the pro and cons of each style and then decide the one which suits your needs.

Although steel frame houses are considered more long lasting than wood frame houses but the stability of a house highly depends on how professionally a particular house is designed and built. Scientists have developed a new type of “super wood” that is more than 10 times stronger than normal wood – and this wood could be a natural and inexpensive substitute for steel and other materials in future.

A wood structure building are very cost efficient as wood is much cheaper than steel. Wood can be easily cut and designed aesthetically. It also offers lower labor costs as there are more professionals having experience of making wood frame houses rather than of steel frame houses.

Wood also adds a pleasant rustic charming appeal to your building and can be built pretty fast as well. Wood is also light in weight than relatively used materials especially metals.

On the other hand, the obvious disadvantages of wood frame building include vulnerability of damage due to fire, water, termites and decay. Therefore, it is suggested that such buildings should be sprayed with chemicals and painted from time to time to avoid these problems.

Wood build houses are gaining popularity in UK. Wood buildings not only look natural and in tune with environment but are also well insulated to combat the harsh winters.

Wood frame houses are usually built in factories as per the demand. These houses can then be assembled on site very quickly. Factory prefabrication is mostly preferred by self builders, as manufacturers in factories have to work under strict quality control methods, wood is pretreated with chemicals and correct specification of materials is ensured.

Tools used for wood frame houses:

A huge variety of tools are available in market or online stores. Few woodworking tools are the same as used in olden times, some are modified according to time and technology and remaining others are modern power tools or their accessories.

The basic woodworking tools used for building timber frame houses are:

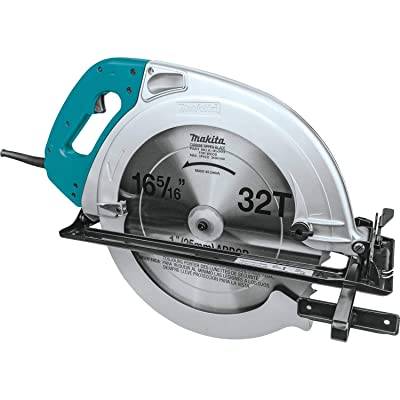
  • Circular Saw
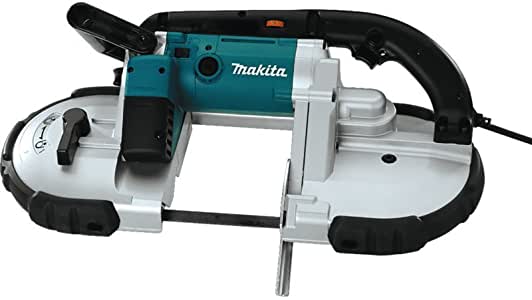
  • Band Saw
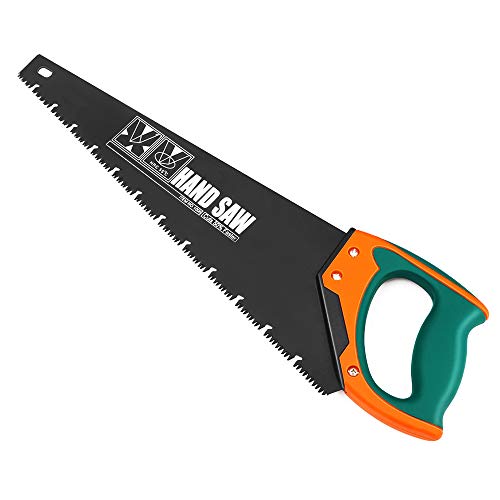
  • Hand Saw
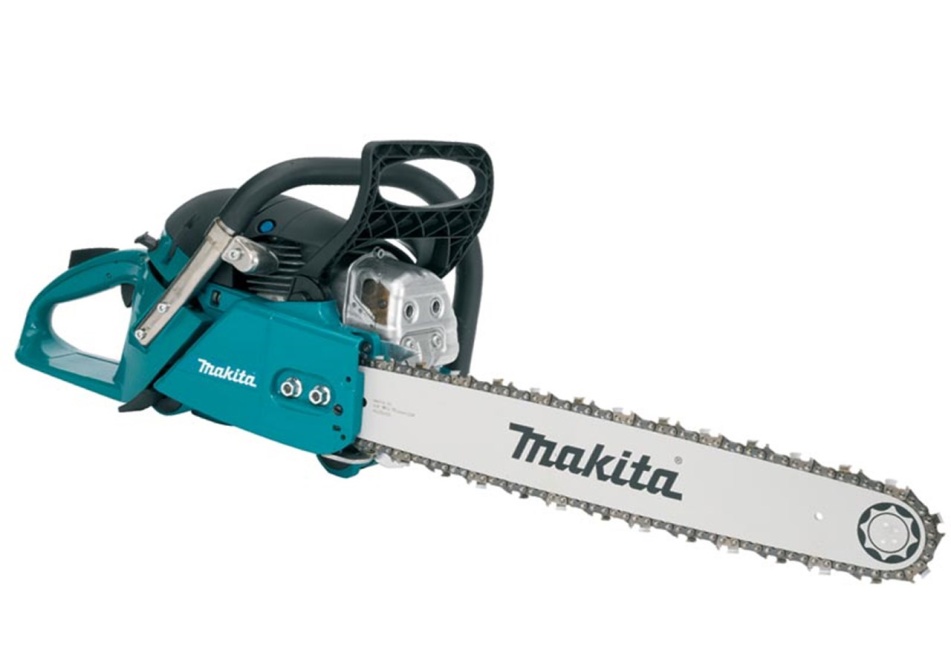
  • Chain Saw
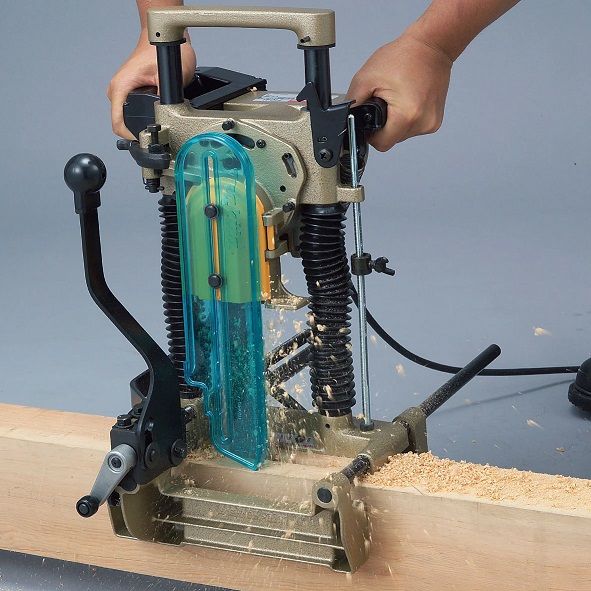
  • Chain Mortiser
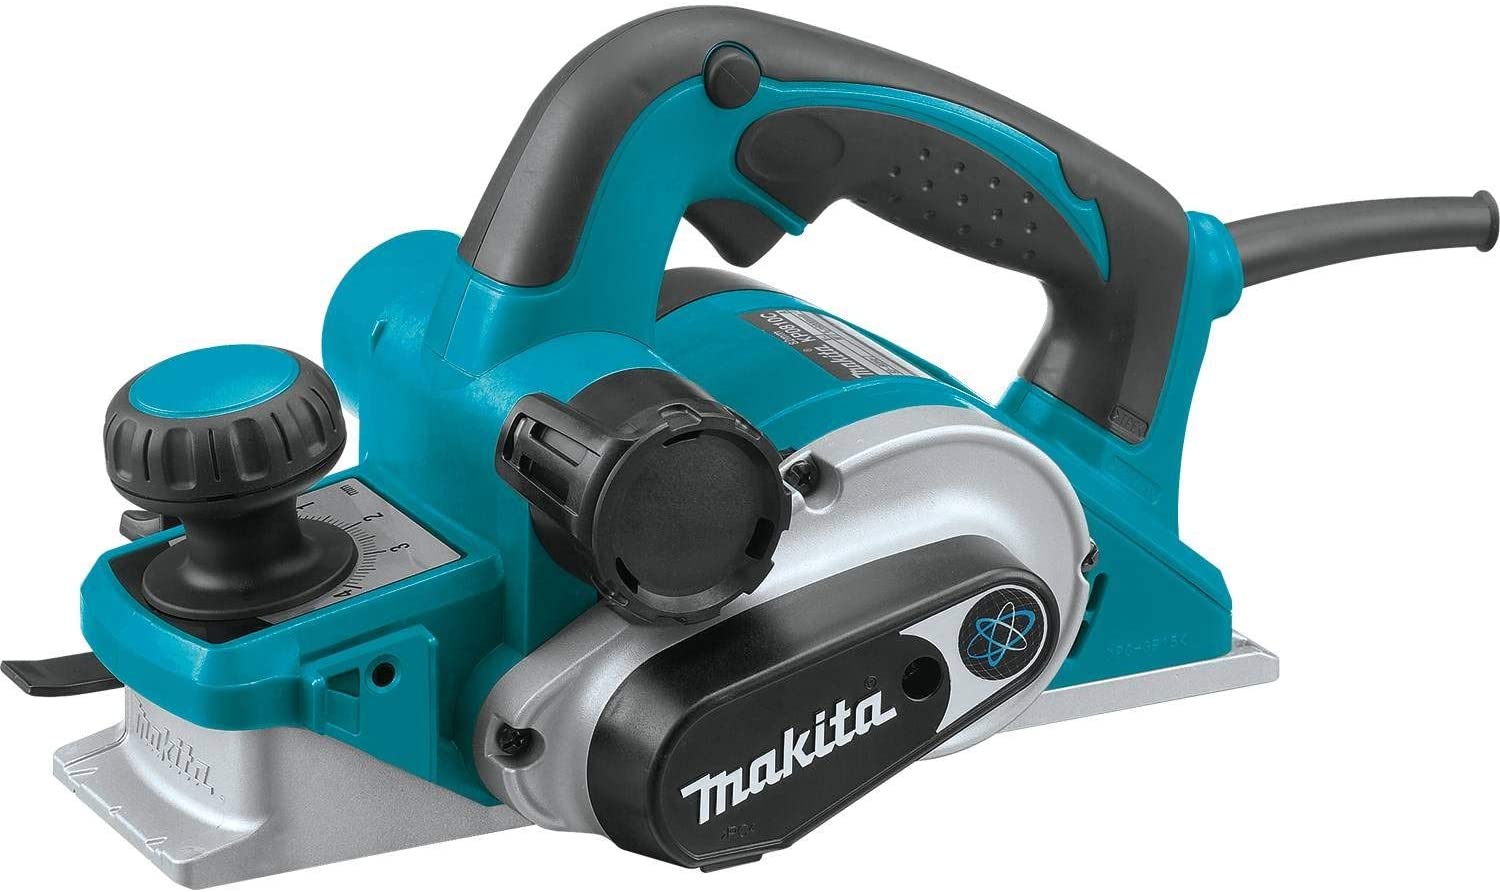
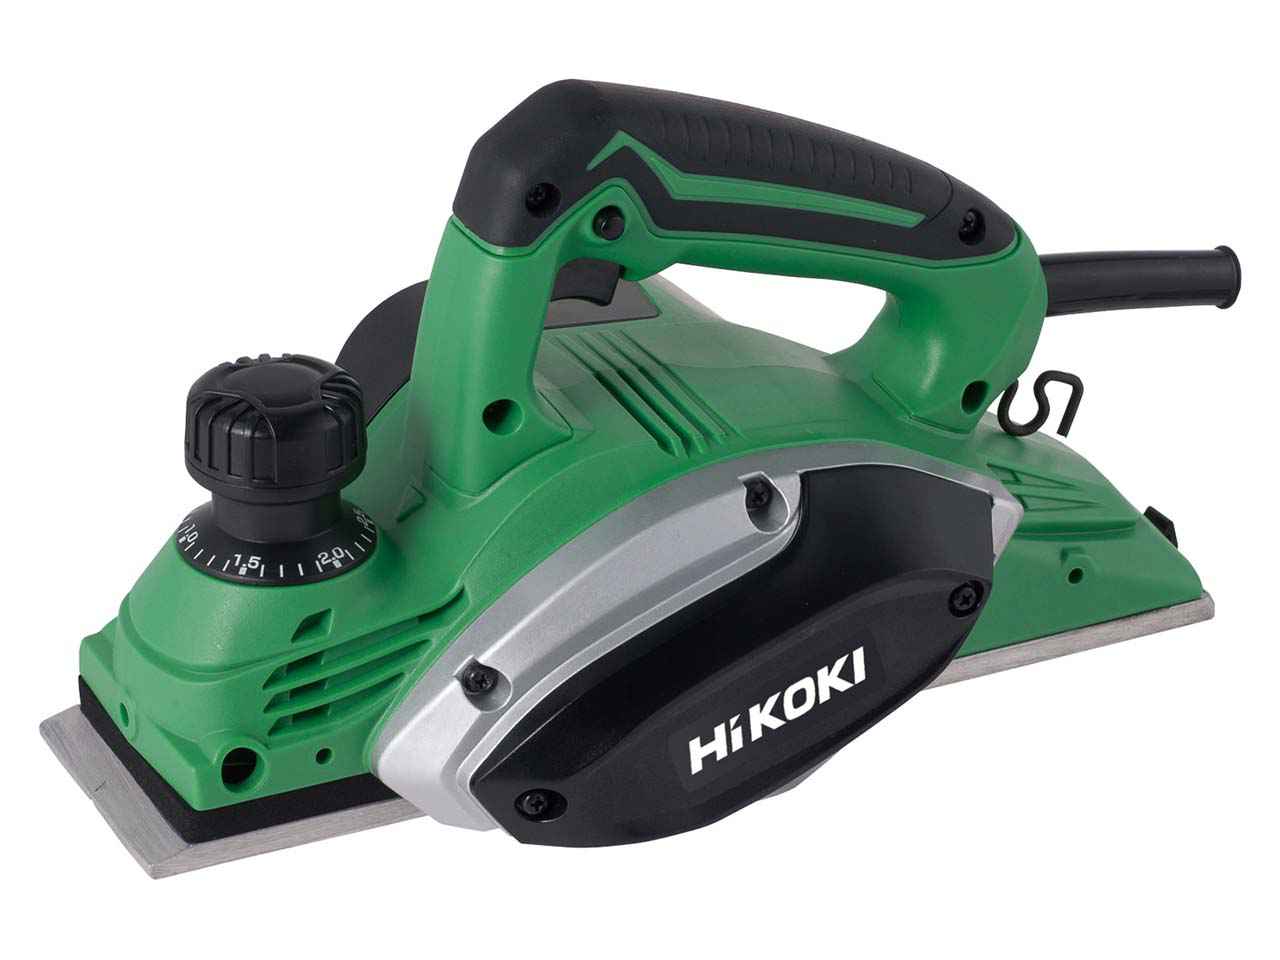
  • Power Planers
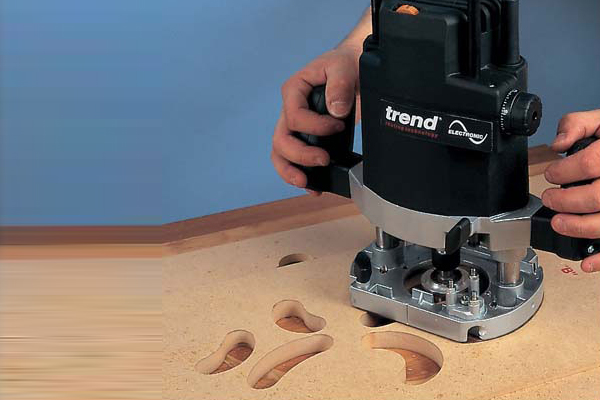
  • Router
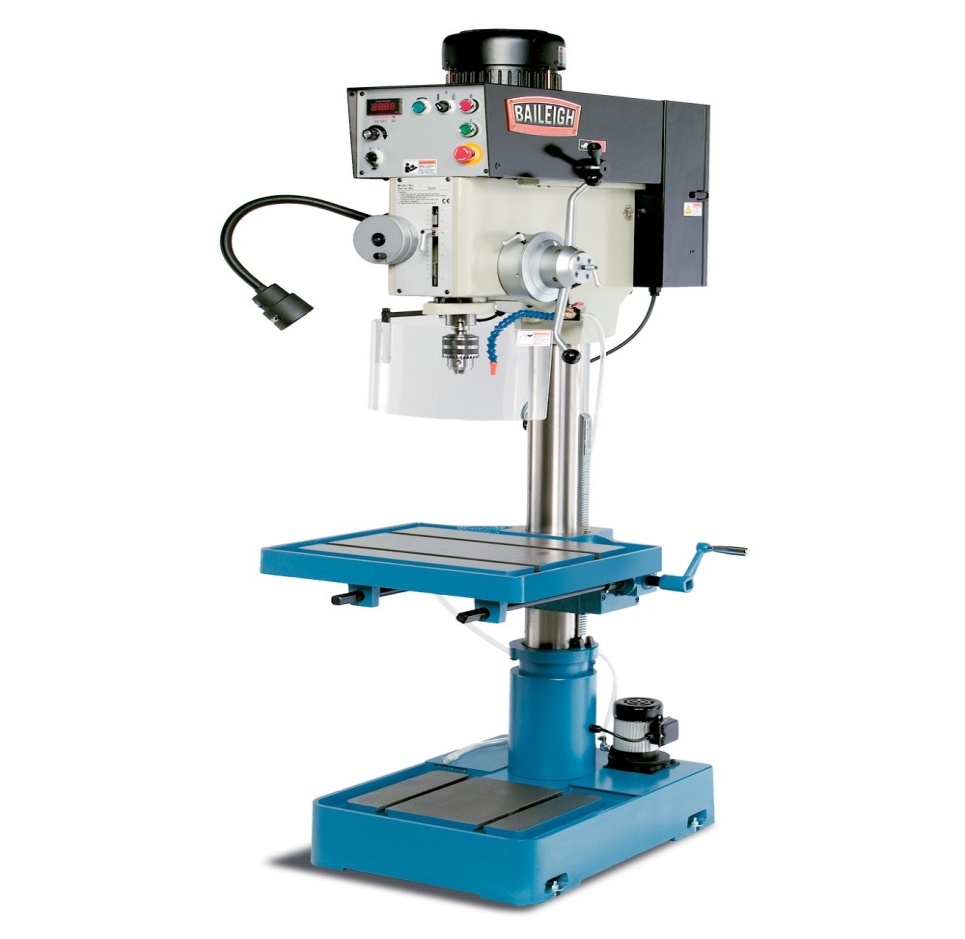
  • Drill
  • Axes
  • Hammers
  • Chisels
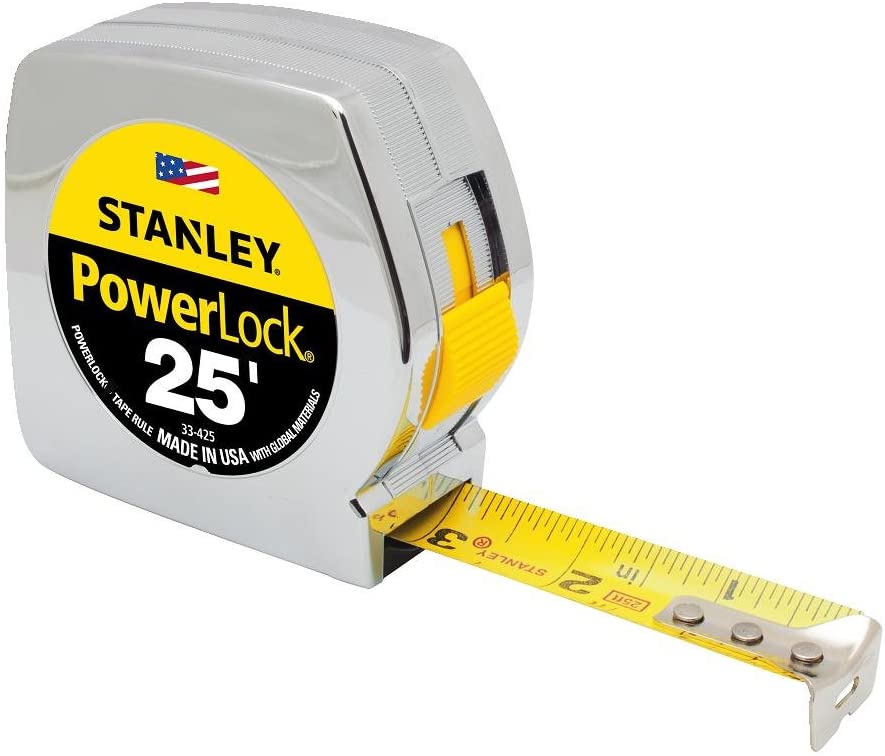
  • Measuring Tape
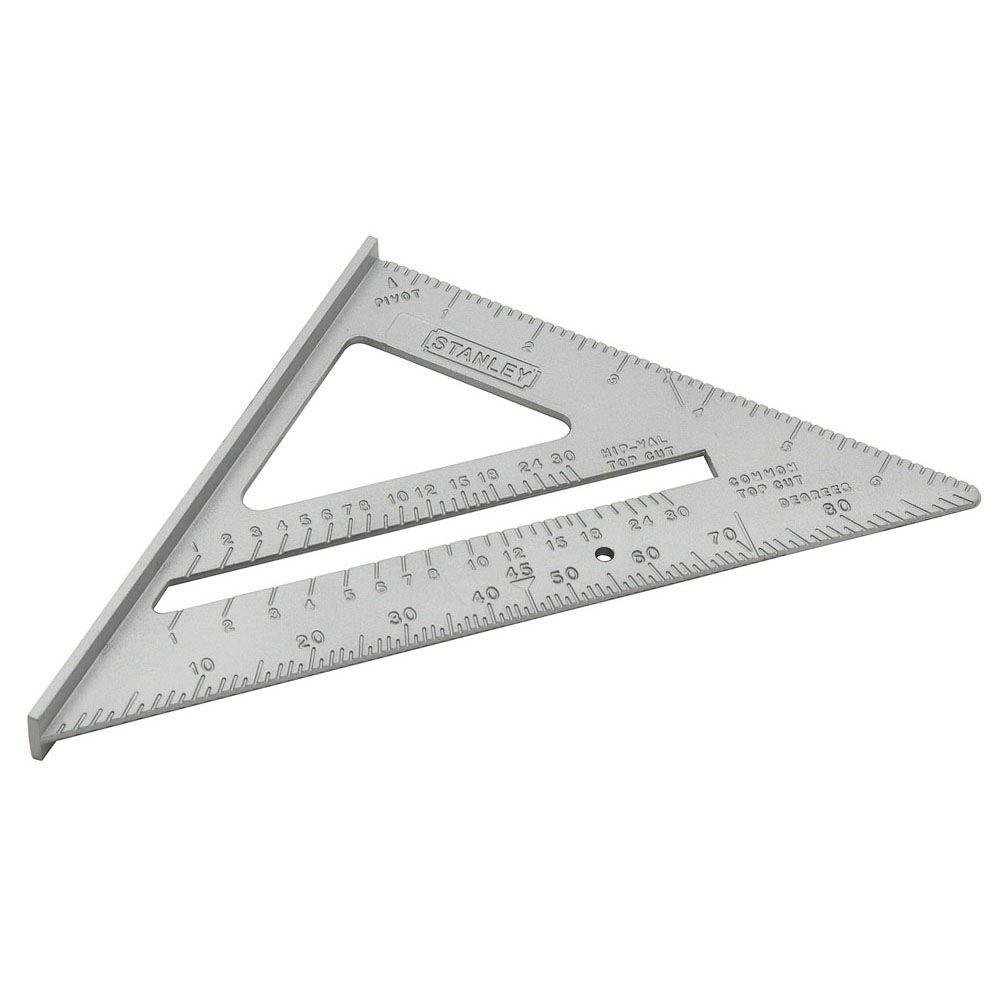
  • Carpenter’s Square
  • Computer Numerical Control (CNC) Machine

In case, you are interested in knowing more about timber framing tools, you can read our previous articles in which we have discussed wood framing tools in detail.

Computer Numerical Control (CNC):

Usage of computer for cutting and shaping wood precisely is also increasing day by day. Computer numerical control (CNC) is a type of manufacturing process that can cut a wide variety of materials. Wood is a common material that can be easily cut by CNC routers for making most accurate joineries.

A CNC wood router is a computerized machine that is capable of designing tangible objects from various wood types, including maple and other hard wood.
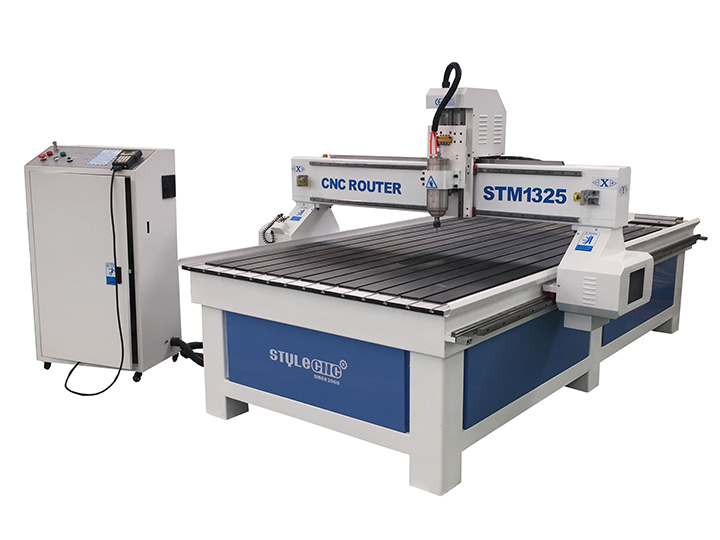
A CNC wood router operates on what is called the Cartesian coordinate system. This system uses the X, Y and Z axis for achieving 3D motion control of a project. The specific parts of a woodworking project can be designed by a computer with CAD and CAM programs, and then can be cut automatically with a CNC router.

Wood is definitely a better alternative for building houses and buildings if proper care is taken. Unlike other metal materials, wooden products and houses soak up excess carbon present in the atmosphere and make the climatic changes less severe and hence we can say that wood is the most environment friendly material.

Tuesday, 24 November 2020

How to Prevent Regularly Happening Woodworking Mistakes


Mistake is the best teacher. It’s not important how you make mistake but how to correct your woodworking mistake makes you a smart woodworker. Woodworking mistakes are so difficult to avoid in almost every project and should be rectified or disguised well.
We have collected the common beginner’s woodworking mistakes and how to fix these woodworking mistakes by applying basic woodworking ideas.
10 Common Woodworking Mistakes & Their Solutions:

  1. Improper Selection Of Tools: Huge variety of woodworking tools are flooding the stores and market nowadays. Woodworking tools like handsaw, bandsaw, planner and jointer, tablesaw, wood scapers or sander, wood router and bits, spindles, jigs have their own purpose and are good companions in your journey as a woodworker. Woodworking tools are usually quite expensive, so before making the actual purchase, you should analyse which tools are best suited for fulfilling the demands of the type of job you want to perform. If you are unclear better work under a mentor for some time or surf all the pros and cons of the tool you want to buy from some authentic online sources.

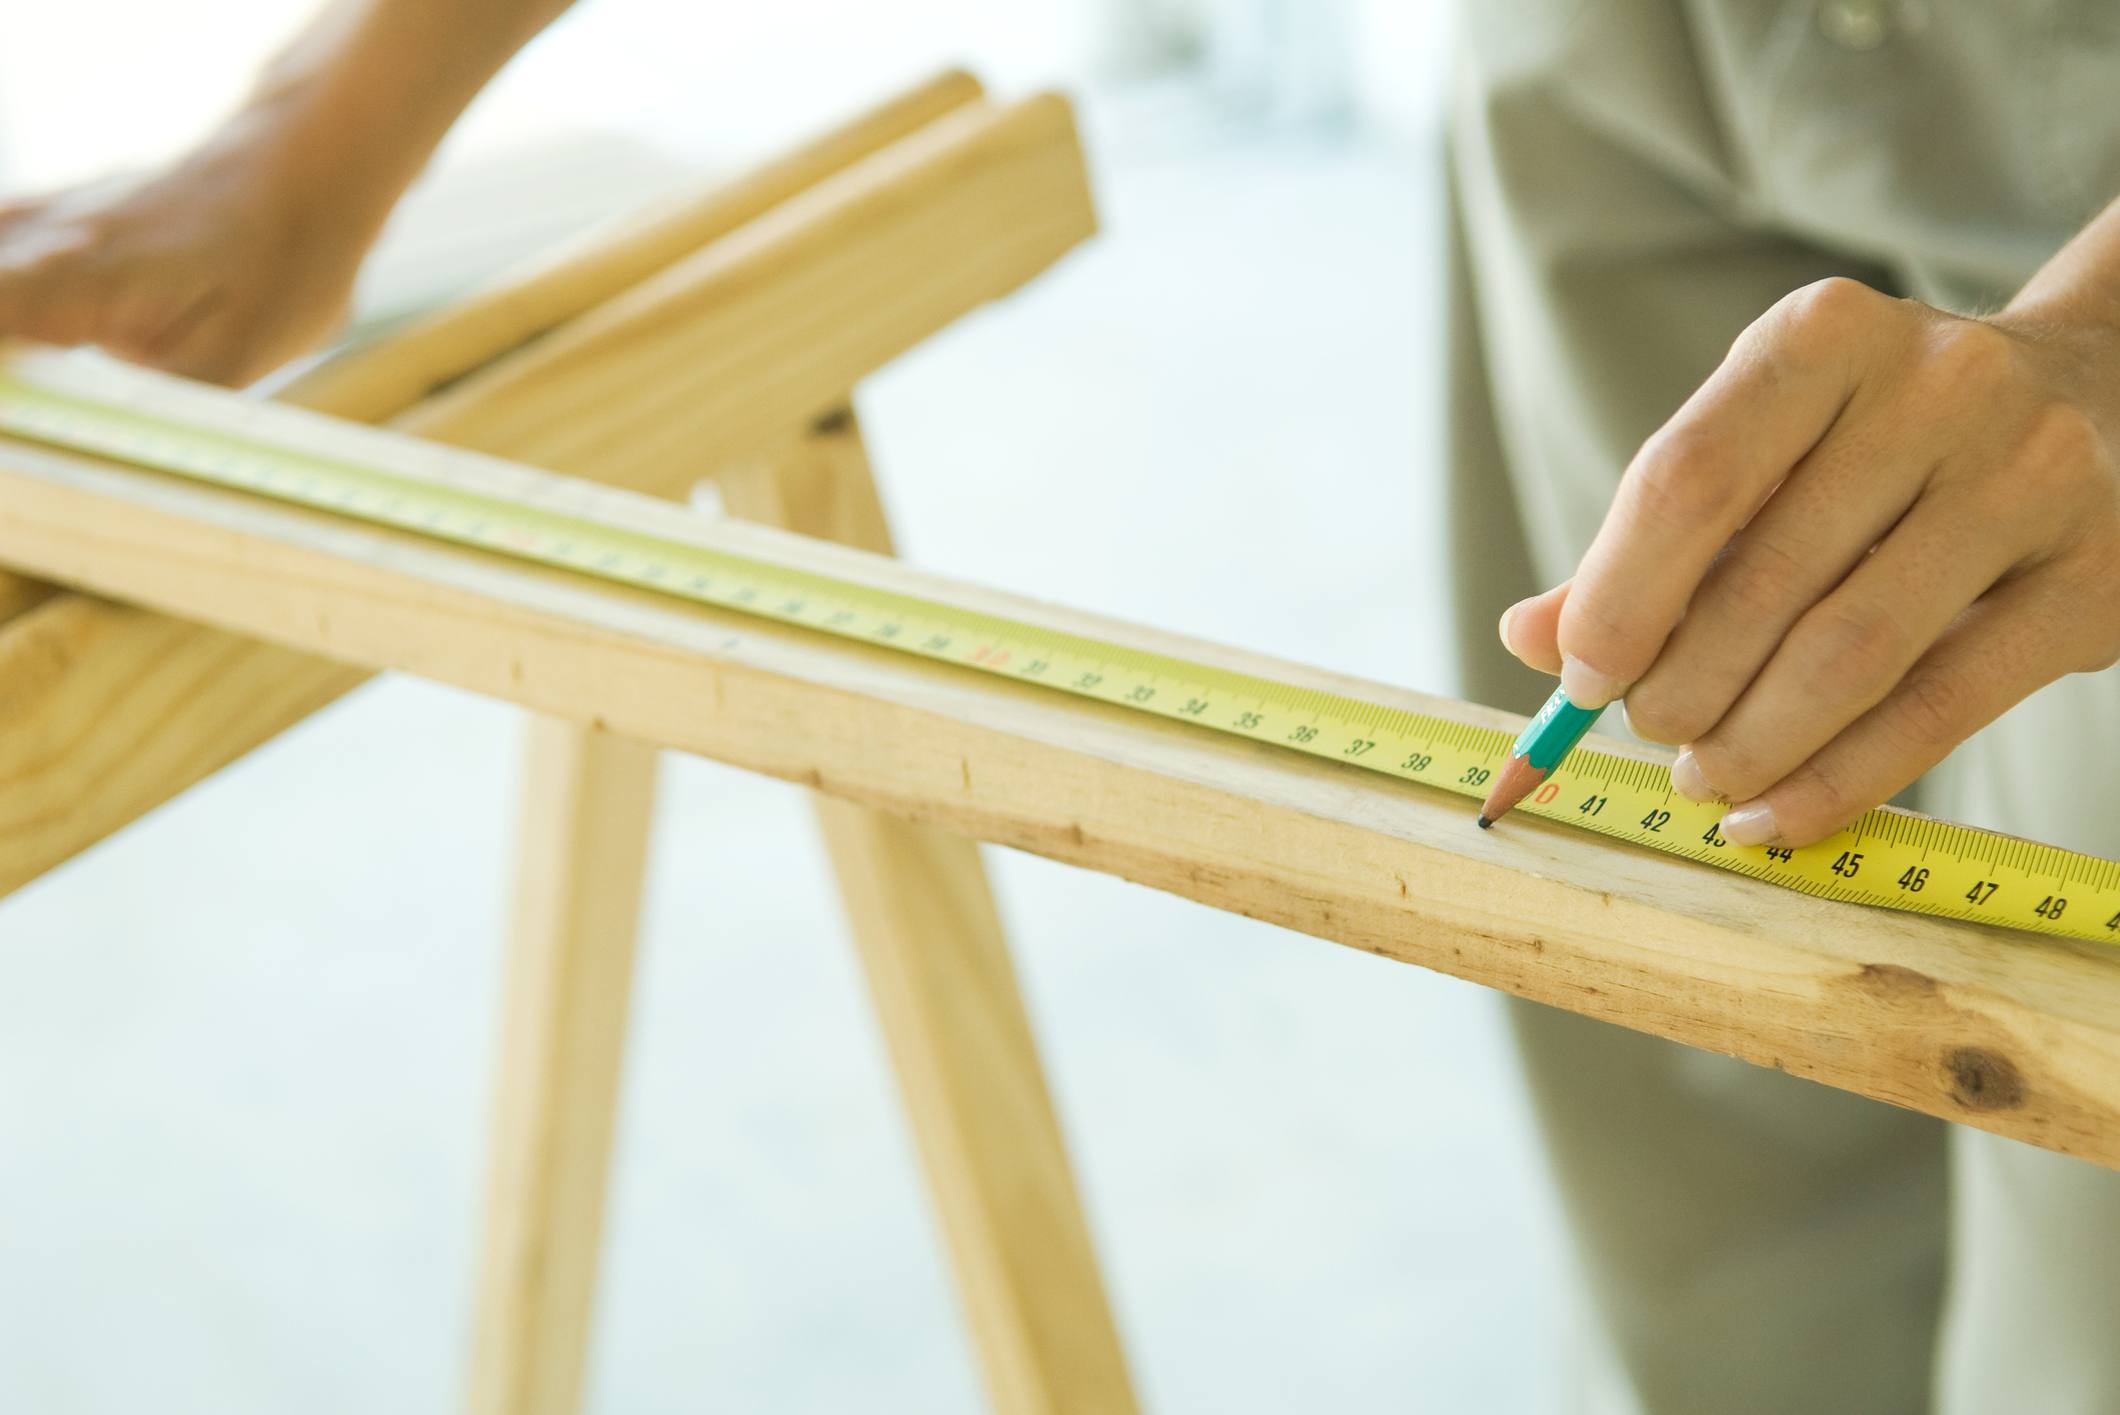
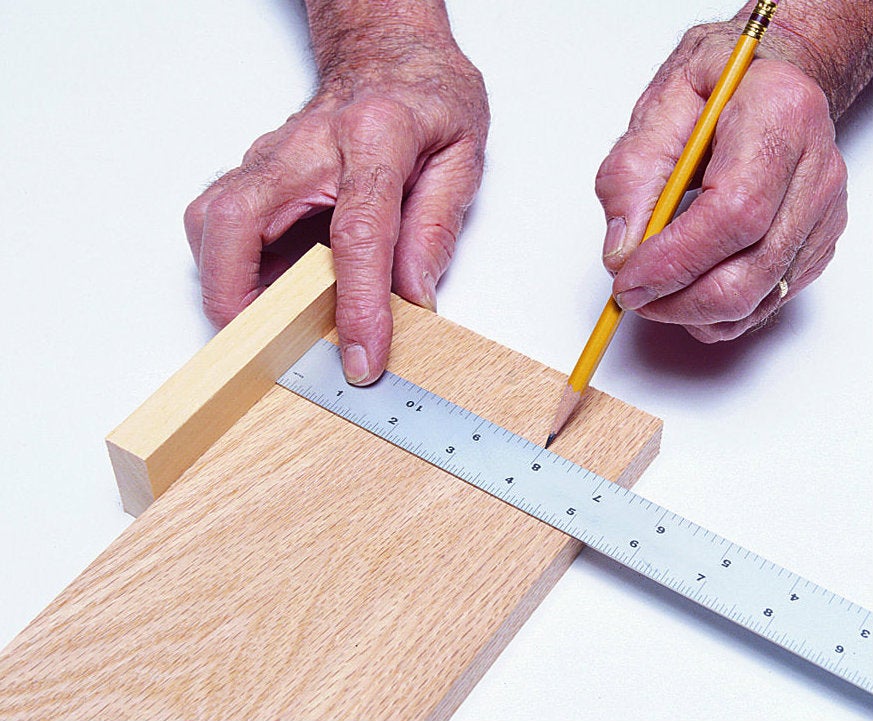
2.Incorrect Measurement: Taking the precise measurement is very crucial in woodworking and your measuring tape and carpenter’s pencil plays important role here. The measuring tape should be tightly held while taking outer and inner measurements and the hooks of your tape should always be clean to avoid measurement inaccuracies. A tape measure is not designed for measuring very small measurements accurately. So, if you want to measure within an inch, go for the steel ruler instead. If you do use a carpenter’s pencil, make sure you sharpen it correctly. If you are using knife or some sharp tool, don’t mark a deep grove so that it can be sanded or planed out easily.

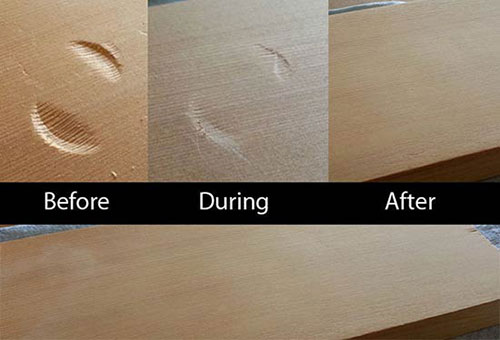
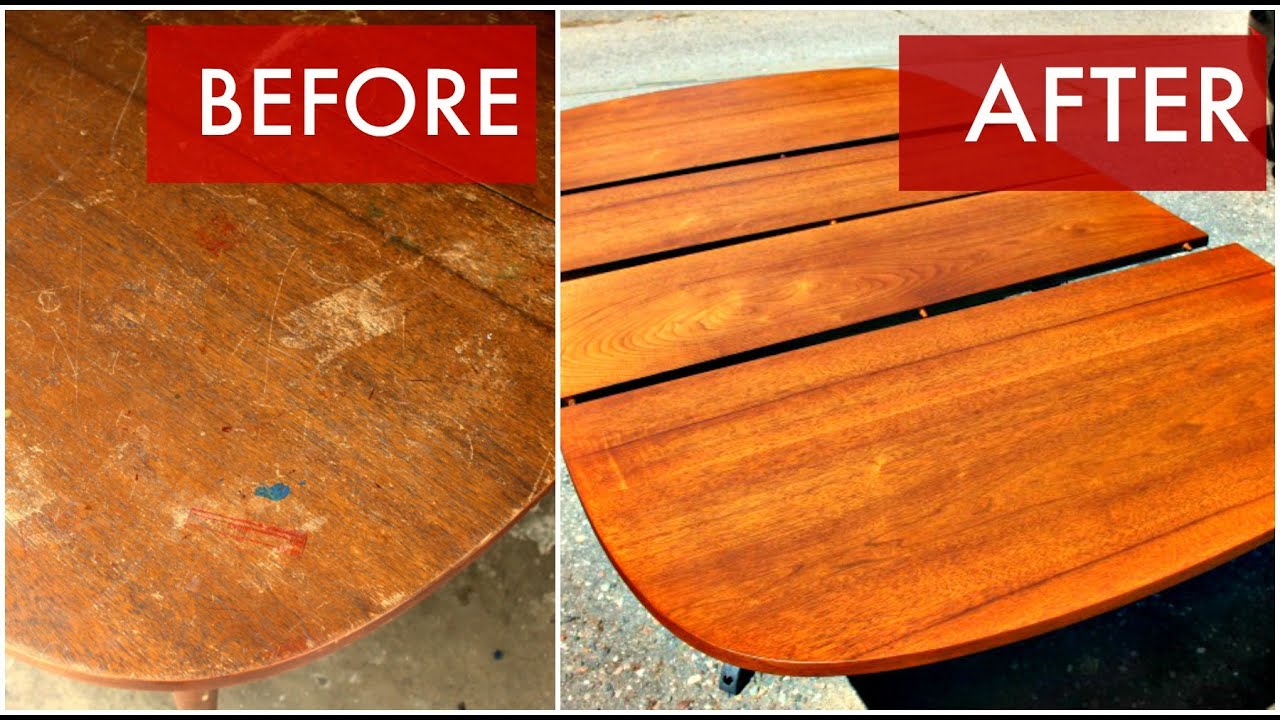
3.Dents In The Workpiece: Dents or scratches can appear even out of smallest mistakes like dropping of some sharp, heavy tool on your newly finished projects and may ruin its perfection. Getting rid of a dent is quite simple. Just wipe it up with a damp cloth and iron it. The steaming effect will expand the wood fill up the dent nicely. You can also fill up the dent with Timbermate wood filler that comes in many colors or sawdust from the same type of leftover wood combined with wood glue and then sand it for perfect finish.

4.Corner Chip In Your Workpiece: You can fix a corner chip by applying some CA glue and activator on it while exerting some pressure with your finger. When it dries up, just twist your finger and release the pressure. If the chip is already broken, set it up properly with the workpiece using a tape so that it is not misplaced. Remove the tape and just fix it up with CA glue and activator. The chip will be holding the work piece nicely again. Remove the extra glue with any hand planer or sand paper.

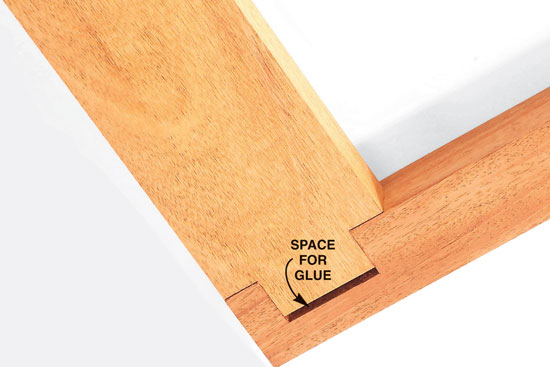
5. Uneven Joints (Loose/Tight): Cutting mortise and tenon joint is an inseparable part of a woodworker’s everyday life. These joints require the exact cuts for fitting properly and it’s the most common mistake to cut unevenly as a beginner. You can fix uneven wood joint quite easily. The trick to deal with joints that are tight is to try for dry fit first. If they are really very tight then you can use a mallet for making it bit compact. Dry fit test allows sufficient space for glue to seep in the joints. If the joint is loose, you can add up some extra glue for filling it up. If your joint is too loose, select a similar sized chip having same grain as the joint and glue it up. If the chip is bigger or uneven, sand it nicely. Now you can fix the joints properly.

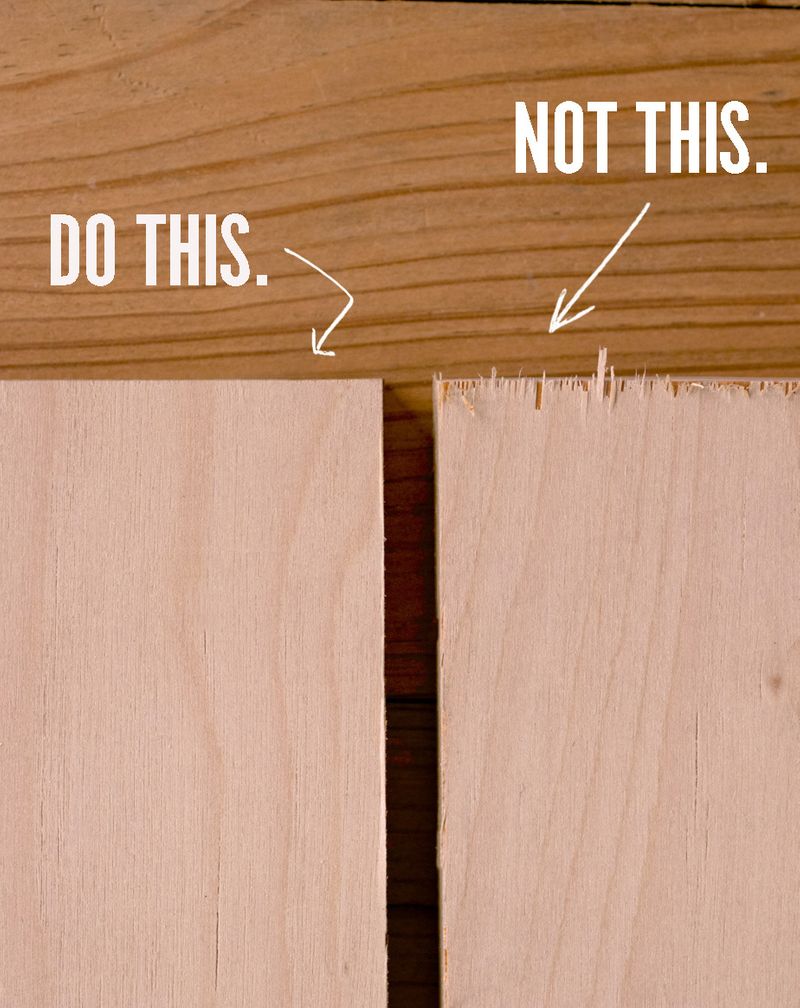
6.Uneven Cuts: Uneven cuts in wood are usually the result of a dull or blunt blade. You should replace your saw blade if it cuts unevenly every time. If you are getting splintering at the end of the cut, you may be turning your hand unconsciously as you push the work piece towards the finish. It’s a good woodworking idea for beginners not to cut your wood piece exactly, just cut it roughly 1/16th of the measurement. Then you can sand it down to exact measurement with the help of sand paper, rasp or a hand plane and fix the uneven wood cuts.

Cuts

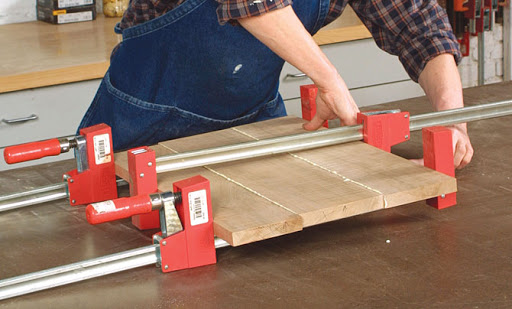
7. Uneven Table Tops: You may end up making a table that is not completely flat even after so much of hard work. One option is to plane it till it becomes completely flat, if you can compromise on table top’s thickness. Otherwise, you can cut the pieces apart at the joints and try to clamp down them again without actually applying glue. Make sure the table top is flat this time using a straight edge. Now, glue it up and clamp again. Pressure should be just enough for joints to fix and remember not to over-tighten the clamps.

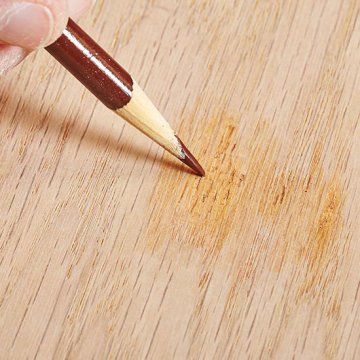
8. Over Sanded Wood: If the wood gets over-sanded in one specific area, it becomes uneven and distorted in appearance. To fix this mistake, spot the over-sanded area and run pencil all over the over it, and then sand off the marks with 100 grit sandpaper. Always try to sand along the grain of the workpiece. Hence, it’s better idea to sand first and then assemble your project.

9. Way to Fix Over Sanded Veneer Wood: Veneer is very thin sheet of wood so it can be easily over-sanded even if you are careful. It’s easy to camouflage this rather than repairing the actual damage. You can draw the grain again with the artist pencil colours or conceal it with artist oils, graining pens or furniture markers. You can also patch some veneer and sand through that area or else you can also paint over your project.

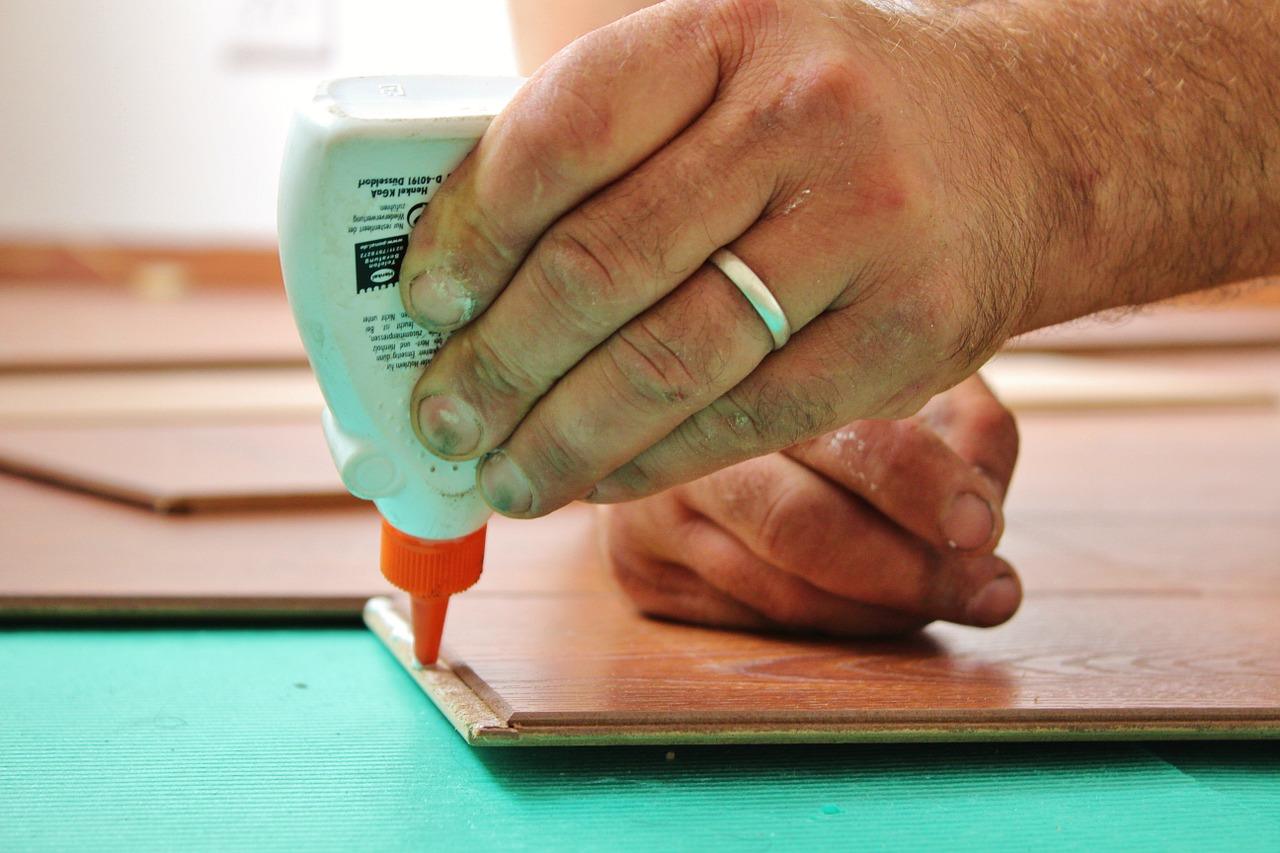
10. Mystery Glue Smears: Some unattractive glue marks become visible only when you’re varnishing or staining the finished project. You can easily get rid of these ugly marks with the help of a sharp cabinet scraper even when the wood is wet and then recoat it. Use a finish that sits on top of the wood rather than absorbing into it like varnish or shellac.

So, don’t be afraid to make mistakes, just try to avoid it or cover it up using these wonderful woodworking tips.


Thursday, 12 November 2020

Quick 10 Tips on Must-Have Woodworking Tools


Tips and tricks are always seen as blessings as these save your precious time, energy and make your life easier. Tips from experienced woodworkers help in managing and doing complex tasks with ease. We have collected few tips from wise woodworkers about their tools and how to deal with certain problems. Let’s have a look…

10 Tips on woodworking tools

  1. General Safety Tips for woodworking tools: Before operating on power based woodworking tools, read the instruction manual very carefully. Knowing your machine well before using it is a must. Take proper training and never ignore safety practices. Always wear safety glasses or goggles, or a face shield (with safety glasses or goggles). Also, protect your hands and feet with suitable gloves and shoes. However, do not wear gloves when you are working too close to rotating blades and other machinery parts where it can tangle in between the blade.

2. Switch OFF the power button and unplug the power cord before actually examining, cleaning, repairing or changing a blade or any tool part as it saves you from accidental hazard. The habit of turning off unnecessary power when it is not required will also save your hard earned money.

3. Check stock for foreign objects: Always check the wood piece or stock for foreign objects like nails, screws, staples or any metal part entangled within it and remove it first before feeding to the blade of machine. This step is particularly necessary if you are using scrap wood.  These can become a dangerous projectile if it comes in contact with a spinning blade and can damage the blade also.

4. Do regular maintenance of your woodworking tools: Keep your tools always sharp for smooth and professional results. Worn out or dull tools like blades, chisels, planes, scrapers and gouges don’t cut evenly and could chip out wood. Sharp blades increase your efficiency, make your work easier and give you cleaner cuts.

5. Use a push stick: Jigs like push stick protect your fingers from being fed into the blade of the machine accidently. Always use a push stick to push a wood piece that is less than 6 inches (152.4mm) through the blade.  Proper and durable push sticks can be built in the shop or purchased from any fine woodworking supplier.

While the machine is still operating, do not remove sawdust or cuttings by hands from the cutter head of the machine. Use a push stick or brush when the machine has stopped running. Do not use compressed air to remove sawdust, turnings, etc. from the cutter head of the

6. Say NO to free hand cut on a table saw: Never try to attempt a free hand cut when you are working on a table saw. Use a push stick, the fence or the miter gauge to feed the wood piece to the blade. Use one of these options and always try to cut or rip along the direction of the grain of wood piece.

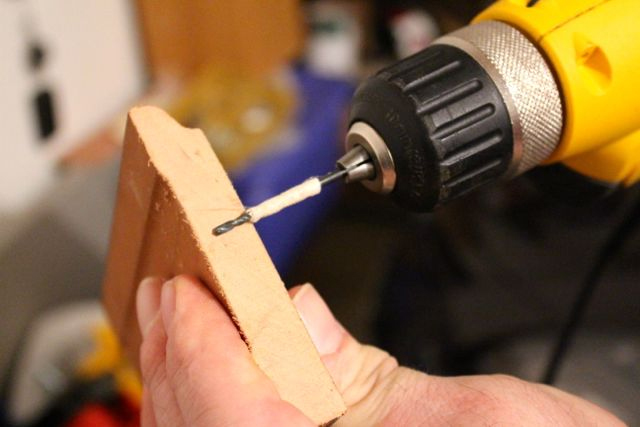
7.  Setting the depth of the handheld drill: Simply, roll up some tape on the drill bit to the point where you want the drill to stop as all holes do not require to be drilled thoroughly. Setting up stops on a drill press is quiet easy but sometimes using the drill press isn’t the best option.

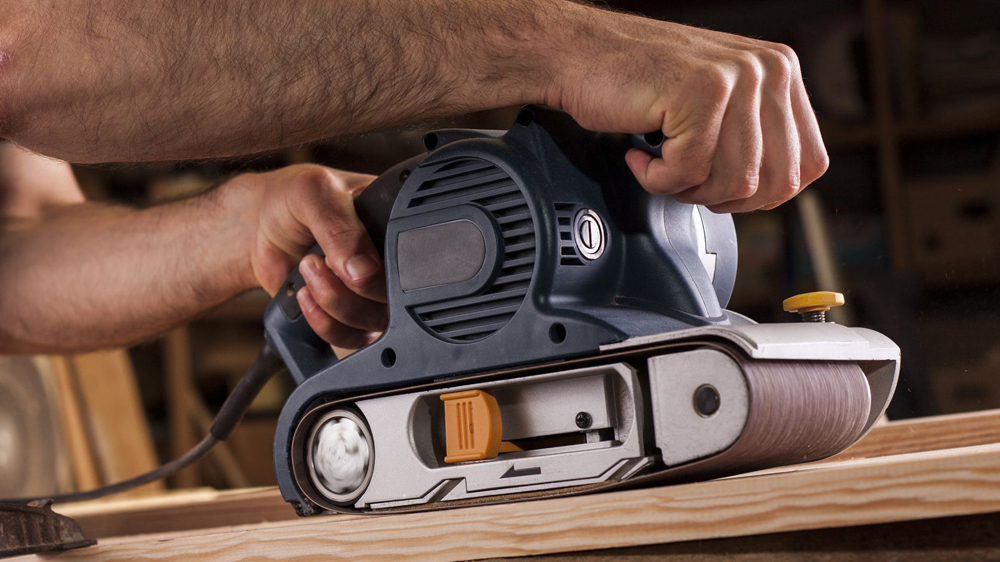
8. Belt sander stop block: If you are using belt sander for sanding your boards, make a stop block of same thickness and clamp it in order to stop the board from jumping away from the work bench.

9. Magnetize your screwdriver: A magnetized screwdriver could save lots of dropping screws and searching time. This old trick is done by rubbing magnet along the shaft of a screwdriver many times in one direction only. You could also attach a magnetic strip on the wall and hang small tools and iron parts so that these are not misplaced.

10.  Recharge station for your cordless power tools: Cordless tools are great to work with as they can reach anywhere but recharging chargers and their tangled cords could mess up your workspace. It is a good to organise all your chargers at one spot and plugging then in one power strip.

Thursday, 5 November 2020

List of Effective Tools for Timber Framing


Timber is the naturally available, low cost insulating material that is extensively used for building furniture, houses and outdoor structures. The most common species of wood used for timber frame homes are white pine, red and white oak, and Douglas fir, cypress and cedar

Timber frame usually refers to a system of panelised walls and floors structure produced from small timber studs and clad with board products where the timber frame transfers the vertical and horizontal loads to the foundations.

Wood Tools for Timber Framing:


Timber framing is known for building huge sturdy structural framework of wood and uses so many woodworking tools for that purpose. Timber framing tools can be categorized broadly into hand tools and powered tools.

Hand Wood Tools Used for Timber Framing:

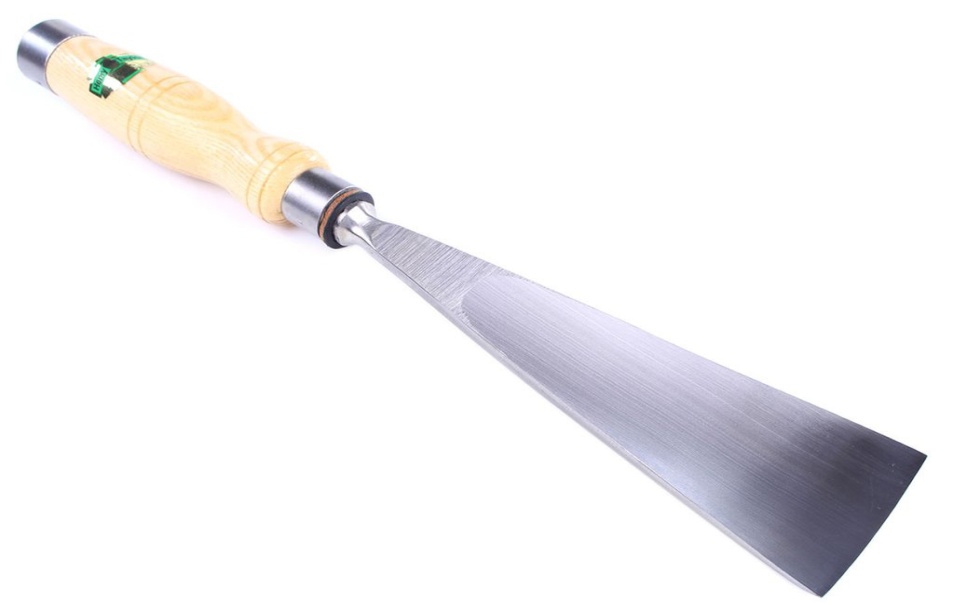
Framing Chisels: Chisels are indispensible part of timber framing. Chisels should be selected carefully for making deep precise cuts. Usually, framing chisels are of 1-1/2, 2 or 3 inches, with long sturdy handles that can withstand heavy blows of iron hammers or mallets.

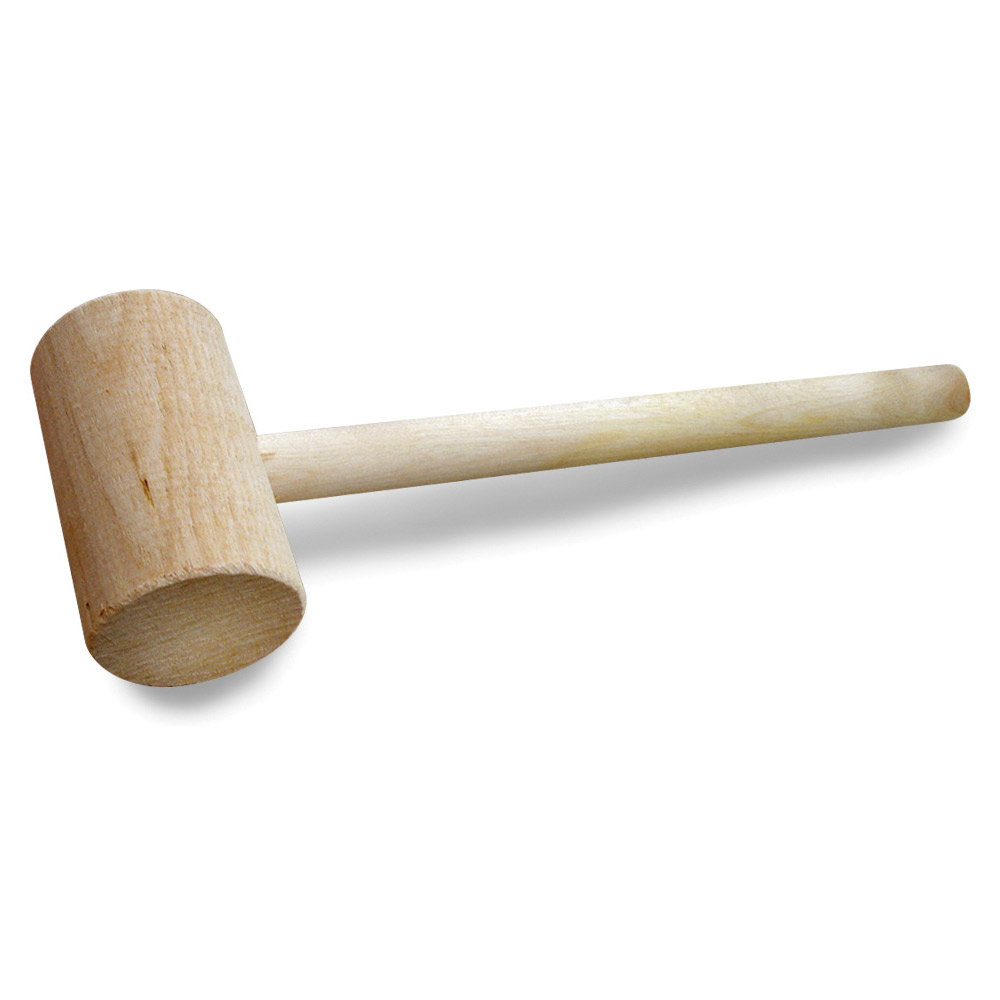
Hammers and Mallets: Hammers used for timber framing are heavy duty rip hammers having a straight claw. Number 2 or number 3 mallets are generally used for hitting, fixing or tapping the wood. Mallets and hammers with wood heads are lighter than the iron or steel headed ones.

Measuring Tape and Carpenter’s Square: A good measuring tape and carpenter’s square help you to measure length and angles accurately that results in properly cut wood pieces.

Drill: A drill machine is an important hand powered tool used to bore holes in wood for making a mortise or drilling holes or slots for the wooden pegs, which hold mortise and tenon joints together during wood framing.

Powered Tools Used for Timber Framing:

Powered tools are always great in saving your time and increasing your productivity so that you can look ahead for new upcoming projects.

Circular Saw: These professional saws are fitted with toothed circular blades that can make square and beveled cuts and can be set to any desired depth for the purpose of cutting timber very quickly and smoothly. The most used circular saws for timber framing are the 7-1/4″, 10-1/4″ or the 16″ circular saws.

Band Saw: It is an efficient power saw with a long and band like sharp blade having metal tooth stretched between two wheels. Portable handheld bandsaws are preferred in timber framing as these are light in weight and can be carried to the construction site for curving and squaring timbers or the cutting of joineries.

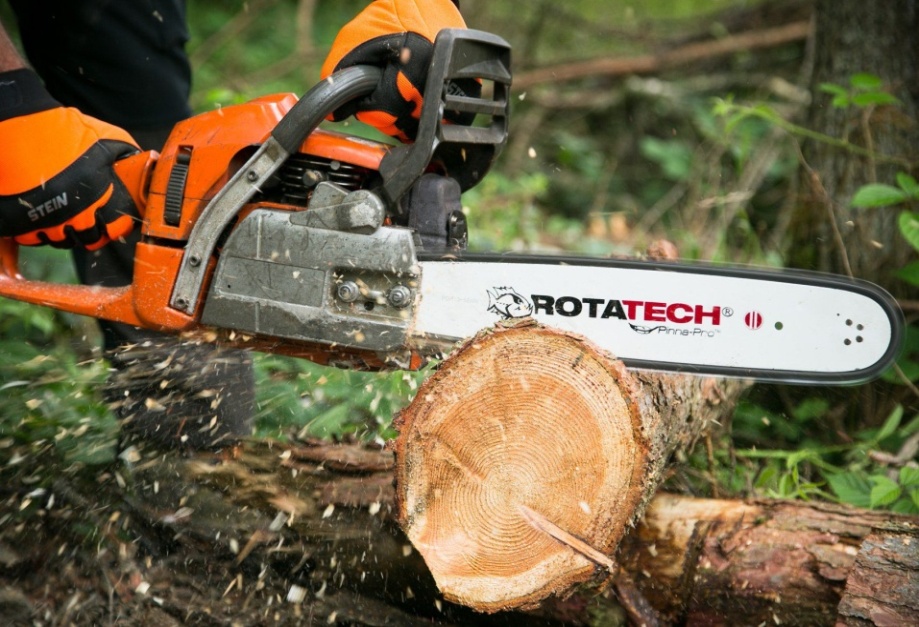
Chain Saw: These saws cut by rotating a chain of saw blades around a guide bar quickly. Electric chainsaws are quieter and lighter than fuel powered chain saws, vibrate less, produce no exhaust, and don’t require any special pre-mixed fuel to be kept around the construction site.

Chain Mortiser:  Timber framers love to use chain mortiser for creating perfect mortise and tenon wood joinery in a matter of couple of minutes.A chain mortiser cuts larger mortises, with the help of a chain fitted with cutters, just like a chainsaw’s chain that keeps rotating within a frame. The mortise is clamped to the wood piece and dug into it in order to remove out the required amount of wood for mortise.  These chains are available in various widths along with number of chains that are parallel. The solid or tipped tungsten carbide tooth last longer and are generally preferred.

Power Planers: These perform the activities of simple hand planer powered by electricity. So, powers planers are capable of reducing the heavy load of planing wood on a large scale in a short period of time. Select an electric planer that makes about 15,000 or more rotations in a minute. You can select the blade size as per your requirement.

Woodworking Router: A router is a versatile power tool that routs or hollows out wood from the selected area from wood pieces. Fixed base routers can do many things like routing the outside of wood piece, create a stylish molded edge like chamfers, cleaner rabbets, grooves, and dadoes in a really short duration of time.

These are the basic timbering tools widely used in the timber industry. Sharp tools are always an asset for your workshop so make sure these are always sharp for producing the best results. In case, you want to replace any dull blade, you can buy from local woodworking outlet or else select from some authentic online source.

Woodfordtooling offers you a huge variety of tools and blades at affordable prices. Go for our latest offers now!

Wednesday, 28 October 2020

Selecting perfect wood carving tools and accessories


Woodworking offers a huge platform for both the professionals and aspiring artists for showcasing their innate talent. It just takes the right guidance and patience for pursuing your heart’s desire.

Traditional carving is a heritage that can be seen mostly in the traditional houses, mosques, churches and palaces of Southeast Asian countries. Traditional wood carving is the most significant Malay ornamental art form.

Wood carving is an amazing art which transforms a simple blocks of wood into magnificent masterpieces. With the right set of wood carving tools, accessories and techniques, you can be a good woodcarver.  Essential wood carving tools are of generally clubbed together and offered as wood carving kit.

How to Select Perfect Wood Carving Tools?

Wood carving tools come in different shapes and sizes. Selecting the perfect tools out of so many available tools is a crucial step.

Wood Carving Knives:

Carving knives are basically sharp blades for cutting and shaping the solid wood into the desired shape. These knives are of different types, shapes and sizes that cuts wood specifically. Generally, a detail knife, a cutting knife or a roughing knife are used for carving chip carving patterns.

While selecting perfect knife, you should consider the quality of knife. Knives having planer knives carbide steel blade are more expensive than stainless steel blade. Most carving tools are made from high-carbon steel, which are easier to sharpen.  High carbon stainless steel blades are also available nowadays which comes with the durability of stainless steel and the advantages of carbon steel.

If you are looking for pocket knives, select the one which has two or three knives so that these blades are placed conveniently. A locking knife keeps your knife locked at specific location and thus avoids sudden accidents like hitting to your finger. Also, select a sheepsfoot blade i.e. the one where the tip of the knife is closely aligned with the main cutting edge of the blade.

A whittling knife is basically used for whittling and trimming silvers of wood in order to carve out raw wood into specific shape. Twigs, branches from any tree or specialized baas wood blocks are good to start whittling with. Wooden knives are a popular item to whittle from a tree branch.

One of the primary knives used for wood carving is the Sloyd Knife. It is the ideal striking knife that is considered as the first foundation tool to start wood carving with. The original design has a straight cutting edge with a tapered blade and a front that comes down at an angle forming a blunt point. It is much easier to sharpen and maintain it. It can be used for carving and adding details to work piece. These are also used for quickly roughing out work and carving spoons.

If you are thinking about buying a bench knife, you should consider the quality of steel used in the blade. Opt for high quality blade that can be sharpened well and fits in the palm of your hand. A bench knife having a long blade is good for de-barking wood, creating long whittling cuts, and for general shaping purpose.

Chisels and Gouges:

Chisels are wood cutting and shaping tools having a sharp metallic end and plastic or wooden handle at the other end. It is generally driven into wood by mallet or hammer. A Rockwell hardness of between 58 and 61 is considered optimum hardness for woodcarving chisels. High quality woodcarving chisels will retain their cutting edges for a much longer period and even last for lifetime if you care properly.

The most widely used style set of wood carving tools include a straight chisel, having a straight flat edge for shaping; straight gouge, having a curved cutting edge or depth; straight skew having a diagonal cutting edge; a veiner, which is a furrowing tool with a cutting edge that looks like a “V”. These tools are available with cutting edges in different shapes and sizes ranging from 1/8″ to 1″.

The tool’s width is measured in millimeters or inches from its right end to left end. The bevel or slant that the blade will take on the carving surface is normally inclined at a 45° angle. It should be sharpened at this angle.

When someone talks about the sweep of any wood carving tool, it refers to the curvature of its cutting edge and is assigned a number for convenience. As the number increases, the curve or depth of the tool also increases. For instance, a chisel’s straight cutting edge is designated as number 1.Number 2 or number 3 gouges are having just a bit of curve in their cutting edges.

A number 11 gouge as referred as a Veiner tool. It is a narrow “U” – shaped gouge, used for making finer detailed cuts, carves deep channels or grooves in wood. Fluter is also a number 11 gouge but has a broader shape. Veiners and fluters are essentially the same type of tool. The names simply refer to the width of the cutting edge: veiners are thin, fluters are wide.

A “V” – tool is also a special type of chisel consisting of two rectangular profiles brought together at a common point, used for sketching around detail in wood carving.

Files, Rasps and Rifflers:

Files, rasps and rifflers are used for shaping and smoothing wood, with much greater control than normal edge cutting tools.  Rasps come with raised teeth. Files have straight chiseled edges that cuts slowly but imparts a much finer finish.

Rifflers are thin, double-ended tools curved to opposing shapes. They can easily get into difficult areas and are good for doing detail work or cleaning up carving. These come in a variety of shapes like flat, round, half-round, and triangular.

Carver’s Mallet:

It’s the most vital tool used by any woodworkers for exerting some additional muscular pressure in their projects. They come in a variety of sizes and styles like the wooden mallets or the plastic mallets.

Mallets used for wood carving are light in weight. They are used to drive chisels or dowels in wood or to knock wooden pieces together.

These are the basic woodworking tools that can be used for carving out basic as well as intricate woodworking patterns and designs.

Wednesday, 21 October 2020

Top 10 Woodworking and carpenter’s tools


Professional woodworkers choose their tools quiet carefully. The basic tools in any workshop are the essential or the most versatile ones. Tools are chosen in such a way that these can be used well for not just one project but for many other upcoming projects as well.

We have collected a list of 10 basic woodworking carpenter’s tools or cabinet making tools that your workshop should be equipped with.

woodworking and carpenter’s tools:

1.Drill Press: A drilling machine or drill press is used for making holes or enlarging holes in workpiece. The primary advantage of a drill press over the standard traditional handheld drill is its accuracy and speed of repetition. The drill is held in a rotating spindle and is fed into the workpiece, which is usually clamped on a work table.Apart from drilling, it can also perform activities like reaming, countersinking, counter boring or tappin

2.Saws: A saw is an important tool that has a blade with its sharp points known as teeth all along with one edge of the blade. It is an essential tool used for cutting lumber or usable workpieces. All saws can be broadly classified into two main categori

Handsaws: In woodworking and carpentry, hand saws are better known as panel saws while in other sectors these are known as fish saws. Panel saws are driven by muscular force of a woodworker and are used to cut pieces of wood into different shapes.

Handsaw

Handsaws can be further identified as coping saws, hack saws, rip cut saws, crosscut saws, bow saws, pruning saws, fret saws, and veneer saws. Some less common saws are the Japanese saws, keyhole saws, and the back saws.

Powered Saws: Powered saws are usually driven by electricity. These saws are the easiest one to use and are huge time savers. These saws produce excellent cutting or trimming results. Moreover, portable power saws are very flexible and can reach any difficult position with ease.

Chainsaw: This saw has set of teeth along a moving chain and is used to cut lumber and even trees. Some chainsaws are driven by gasoline engine and some by electric motor.

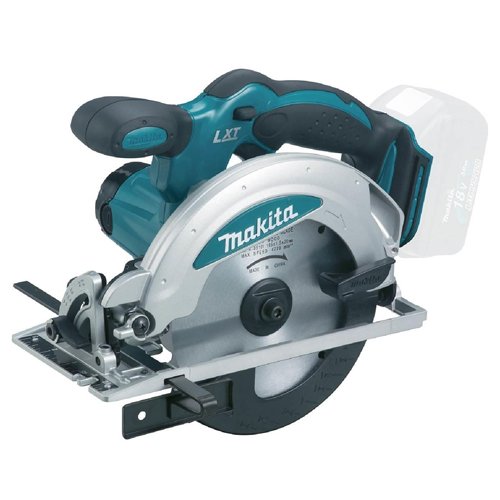
3.Circular Saw: This saw uses a circular blade to cut and is mostly light weight and handy. If you want a cordless power saw for use in different worksites, the circular saw is one of the best options.

Most popular circular saws are Corded circular saws, Cordless circular saws, Compact and Mini circular saws, Worm Drive circular saws, Sidewinder circular saws, Cold Saw circular saws, Abrasive Saw circular saws and the Track Saws.

4.Band Saw: This saw is a stationary saw that can cut through different materials just by changing blades. The saw has a long blade in the shape of a band and rotates with speed while cutting wood. The length of the Bandsaw blade is calculated according to the model of machine or the size.

Widely used bandsaws are the Wood band saws, Benchtop band saws, Horizontal band saws, Vertical band saws, Portable band saws and Meat band saws.


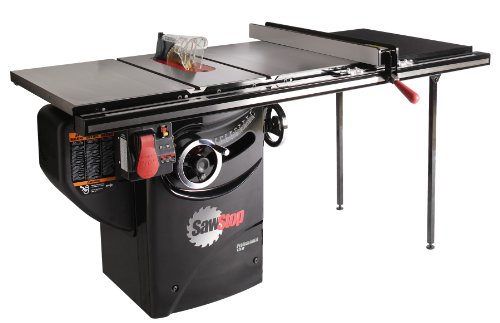
5.Table Saw: A table saw is one of the most flexible saw that has a circular blade and its depth can be adjusted on the attached table so that you can rip the wood, cut straight and measure as you cut as per your requirement. The blade is fixed at the center of the table and simply extends upward and downwards accordingly. A good table saw is always the heart and soul of any workshop.

The most widely used table saws are the Benchtop, Jobsite, Compact, Hybrid, Contractor, Cabinet, Sliding, Mini and micro table saws.

TableSaw

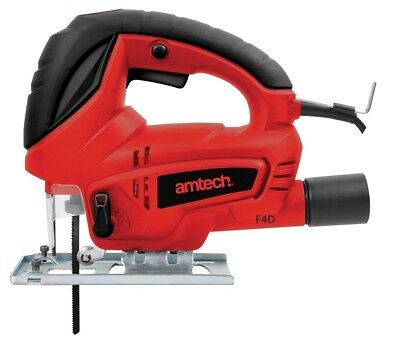
6.Jigsaw: It is a powerful and versatile hand tool fitted with a narrow sharp blade that can cut through so many materials and can reach to some of the most difficult positions while cutting. It can also bevel up-to 45 degree

Jigsaw

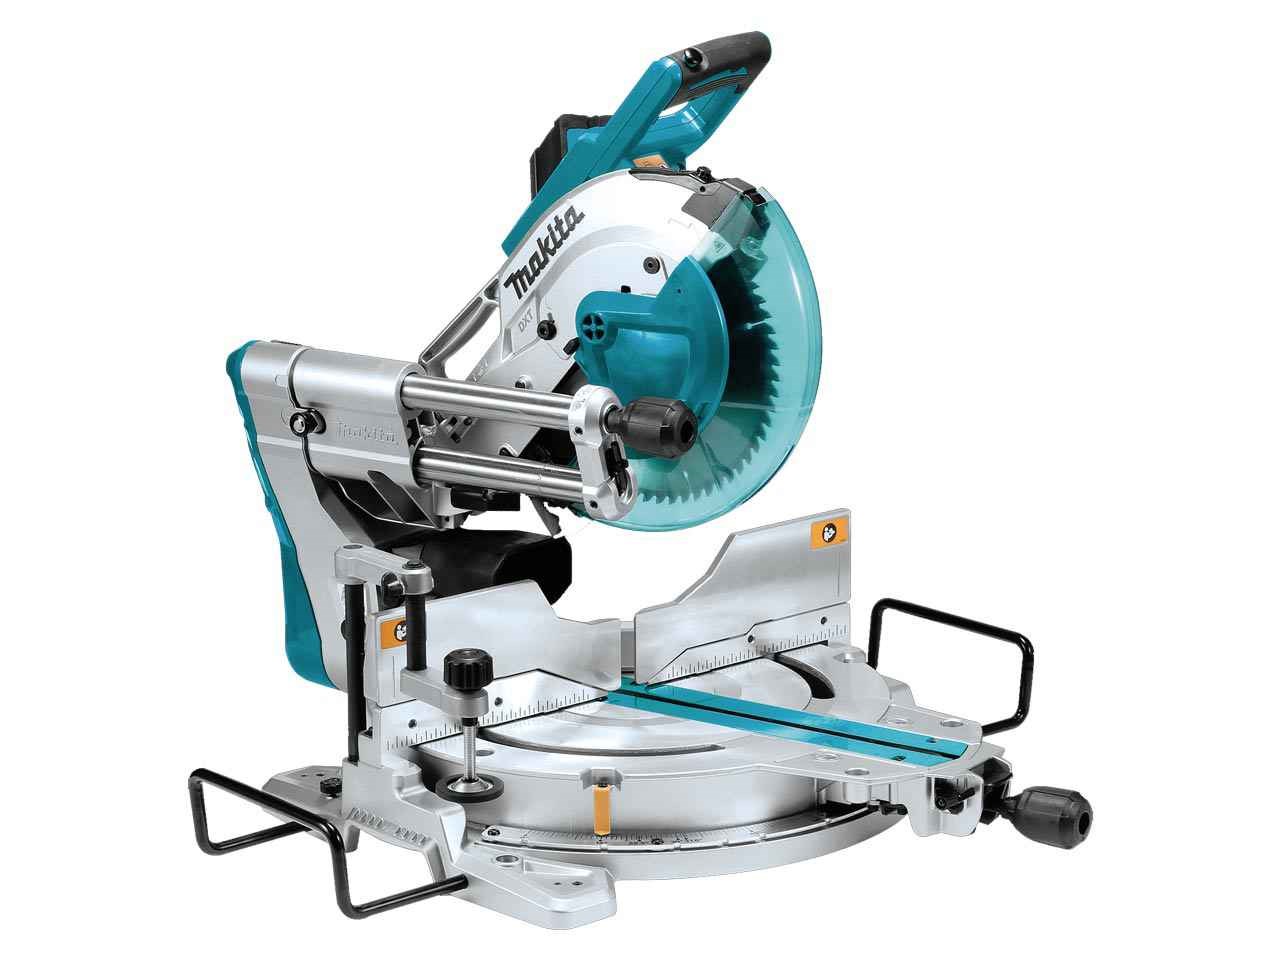
7.Miter Saw: The miter saw is fitted with small circular blade basically used for making angled cuts in wood. For making the most accurate cuts for joints that require most perfect fitting, a miter saw is the ideal tool. Use the dial pad of your miter saw to dial the degree to which you want to cut precisely and get the exact result.

Compounded Meter Saw: These saws will make a variety of angled cuts along with a slight tilt in one particular direction for cutting a bevel. These are popular for making square, angled or beveled crosscuts on wood.

There are many more powered saws available like the scroll saws, reciprocating saws, wet tile saws and pole saws which are used for the purpose of cutting but we have discussed most useful saws here.

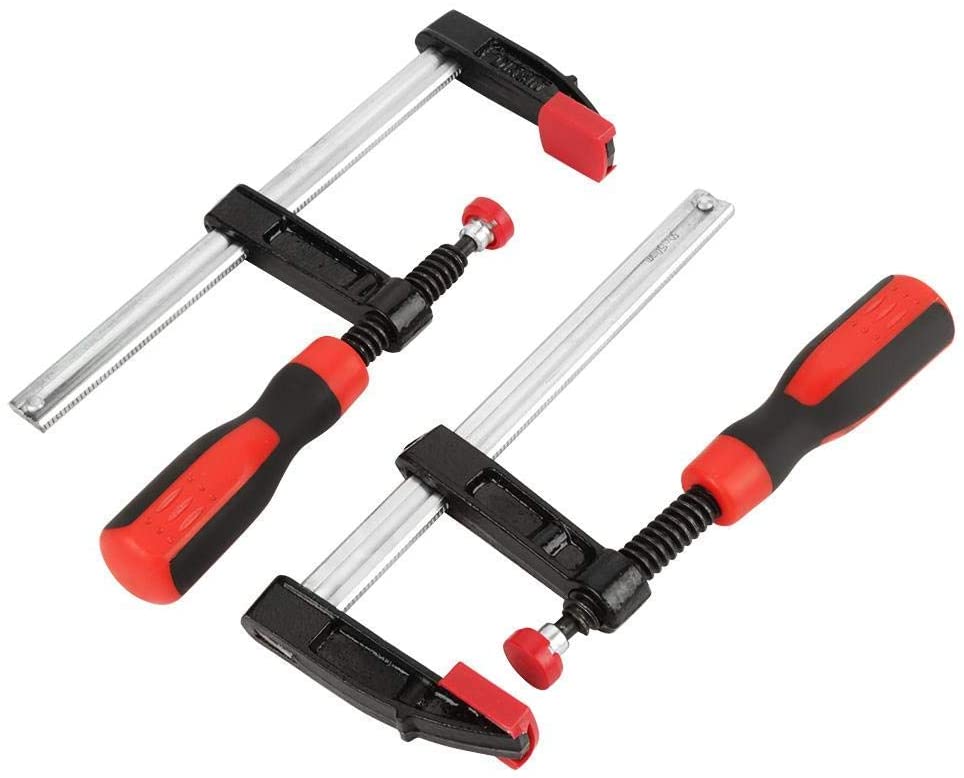
8.Clamps: Clamps are great tools that are used for holding wood pieces securely in any workshop. They are just like extra hands that hold the wood together so that you can use your hands freely. There is a variety of clamps available all designed uniquely to perform various tasks. Some of the famous types of clamps are 90 degree corner clamp, screw clamp, quick release clamp, angle clamp and toggle clamp.

9.Measuring Tape and Carpenter Squares :  A measuring tape or tape measure is a long flat flexible ruler used for making measurements. Woodworkers generally demand more from a measuring tape. Some prefer 25 feet tape while others feel 16 feet tape more light weight and comfortable for use.

10.Carpenter square  is also known as ‘framing square’ and is used extensively for framing and laying rafters and stairs.  It can also be used as a straight-edge, finding and establishing right angles and marking cut-off work on work piece. These squares are generally made of steel, aluminum or polymers. It consists of long wider arm and a shorter narrower arm which meet at 90 degree right angle.  

11.Electric Planer: A corded electric planer or the cordless battery operated planer is a tool that can’t be missed at any cost. It smoothes the surface of the wood and rough end grains and tapers the wood also.

A block planer is a simple small hand held tool used for planing manually with blade at different angles than other type of planes.

Electric planers types include the benchtop planers and the stationary planers. Benchtop planers are smaller and lighter than stationary planers.

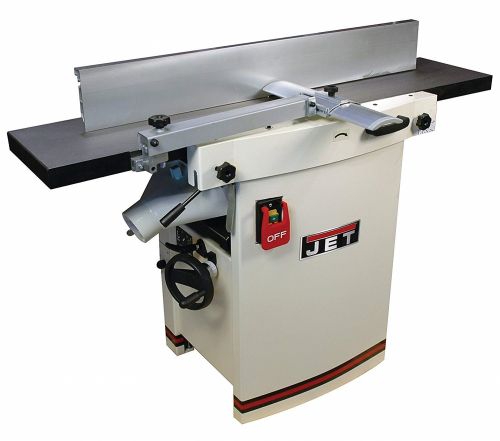
12.Power Jointer and Thickness Planer: This tool is an essential tool that almost every woodworker likes to own. Used since last so many years, it’s a great dimensioning tool that processes rough lumber into exact size and thickness planer blades. It makes the surface of wood usable.


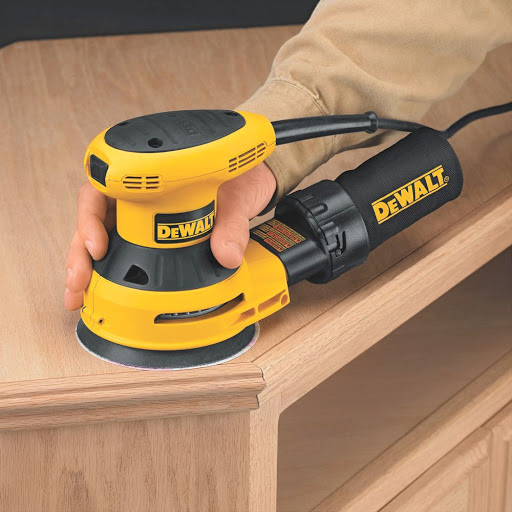
13.Electric Sander: It is a powered tool that smooth and finish surfaces of wood very easily and effortlessly. All sanders have a mechanism for attaching sandpapers and to move it rapidly.

Some of the widely used sanders are random orbital sander, belt sander, disc sanders and finishing sanders. Of course, cordless sanders come to you with additional benefit of detaching from the power supply and using comfortably.

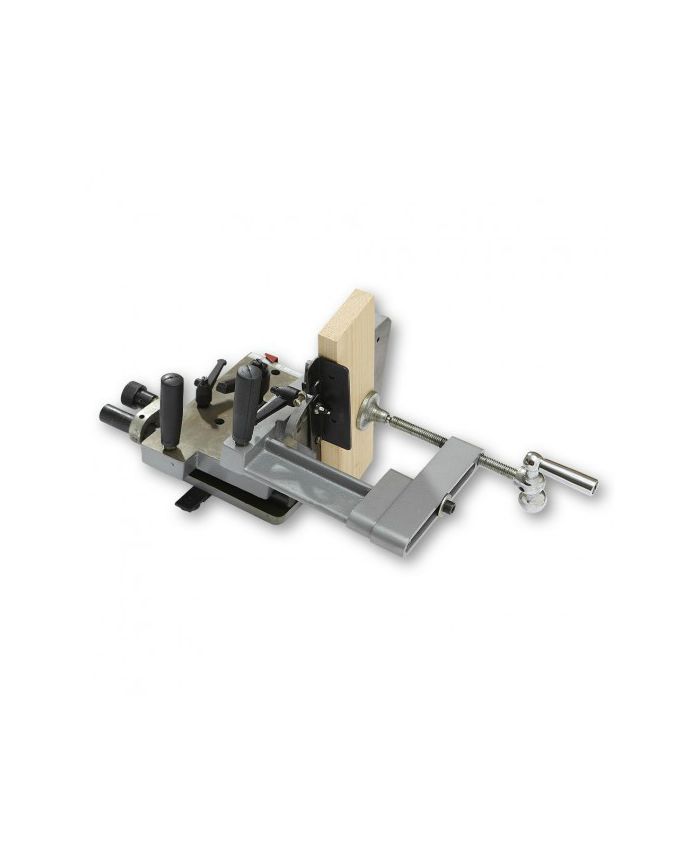
14.Tenoning Jig : Tenoning Jig is actually utility tool of your workshop. It locks the workpiece or stock against a plate and holds it steadily in its place so that the saw machine can cut cheeks and shoulders on all four sides of a tenon. A stop piece keeps the workpiece square in both directions.

Tenoning Jig

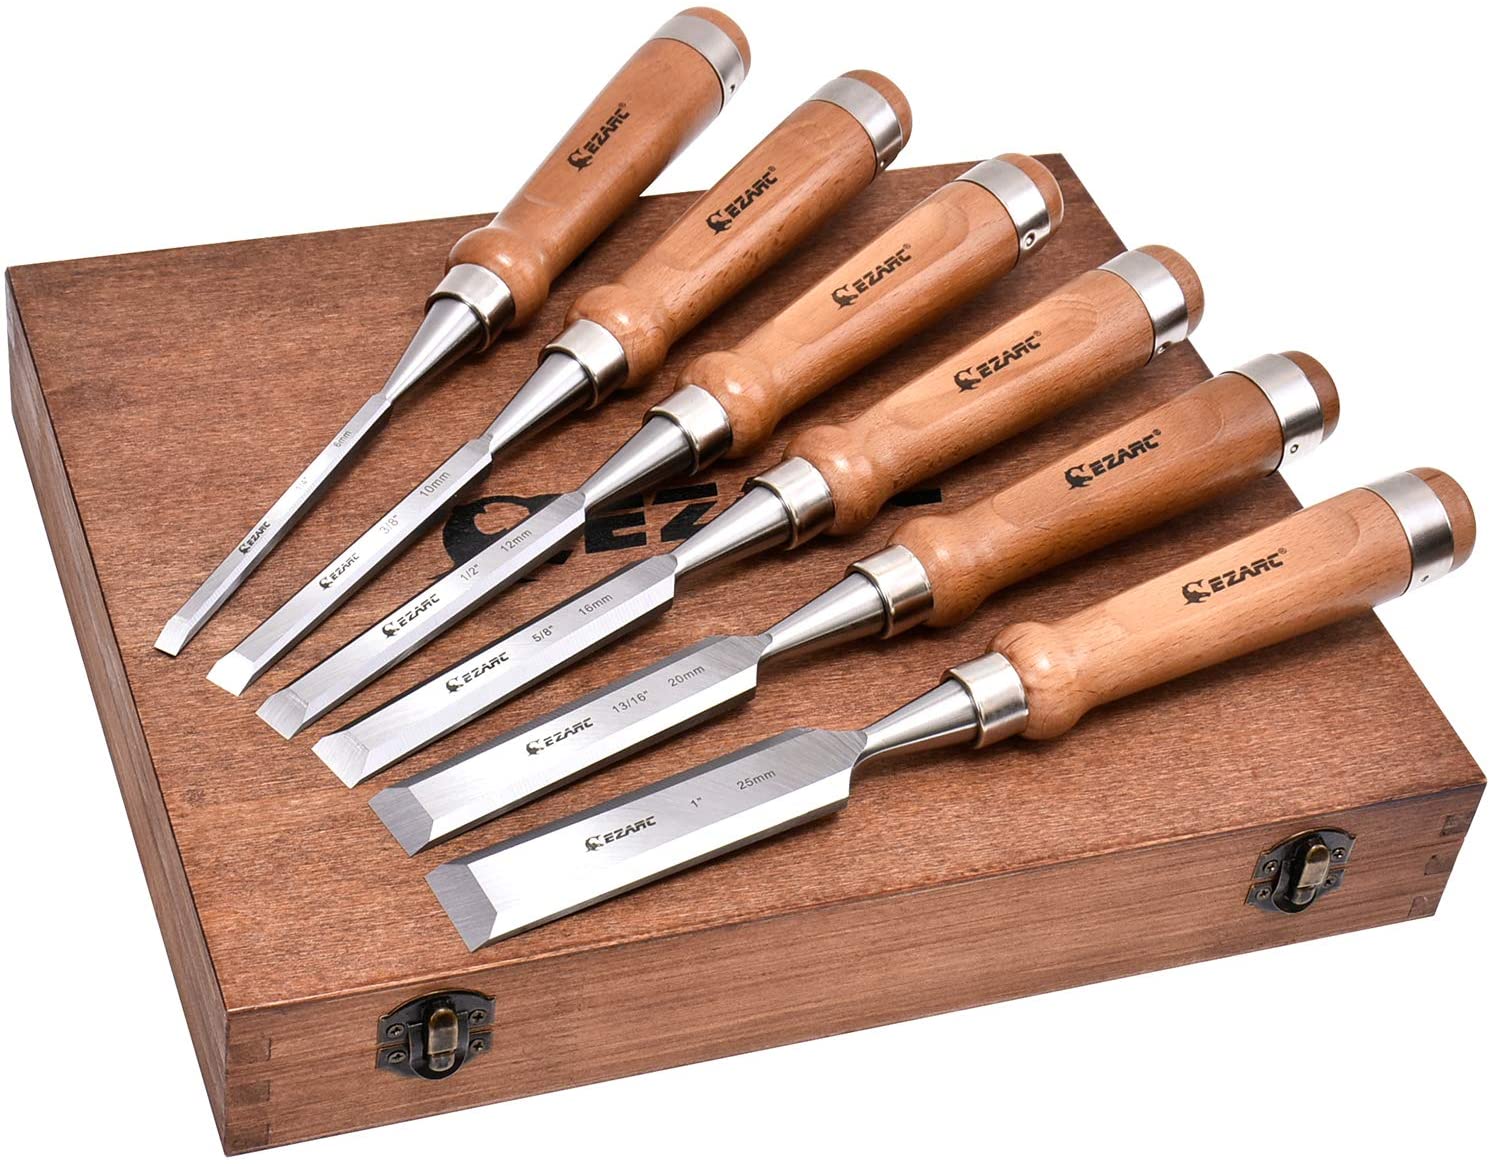
15.Chisels and Mallets: Chisels are also indispensible for any woodworker or carpenter. A chisel consists of a sharp cutting edge attached to a handle and is rectangular in shape. It is generally used with a small hammer or mallet or can be used separately on wood.Chisels and hammers are found in different styles and sizes like beveled edge bench chisels, mortise chisels, and paring chisels

Hammer

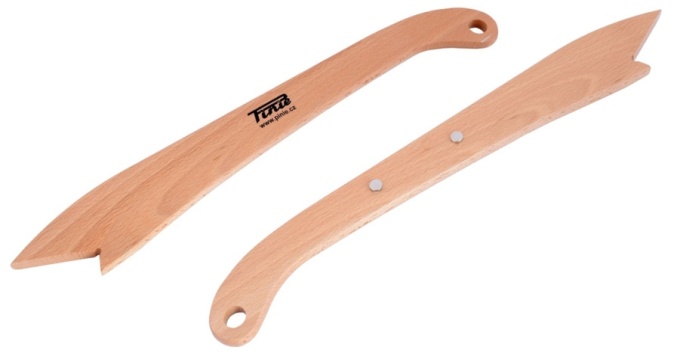
16.Push Stick: At last but not the least important in the list is the push stick or push block. It is actually a safety device that saves your fingers and hands from being fed to the unforgiving saw blade.

Push stick

So, these are  essential tools that any professional carpenter’s workshop should be equipped with. Woodford Woodworking Tooling Ltd. is one of the leading suppliers in UK that is completely dedicated to our customer’s total satisfaction. We supply industrial equipment and various components from a variety of manufacturers and hence have a huge choice for our happy customers.